Adding Payment Schedules to an Event
Once you have established at least one Payment Schedule, you can then begin applying these to events (new or existing).
Applying multiple payment schedules will not remove existing payments scheduled (These will need to be manually deleted).
Applying During New Event Creation
First, follow the steps you would normally to add a new event to your calendar
-
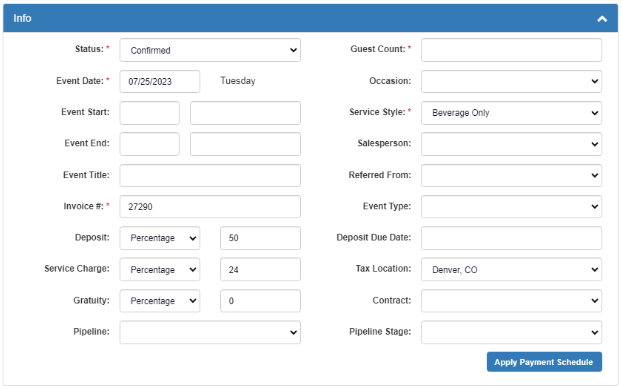
- Event Date: This is required to activate the Apply Payment Schedule option
- Apply Payment Schedule: Once the event date is entered you are able to click this button to add a schedule
- Select a Schedule: Choose a schedule that you created to add to the new event
At this point you can make an changes to the deposits/payments that are in the chosen template and/or to the email message. Any changes made will only apply to the specific event it is being added to.
To change the template defaults, please see Setting Up a Schedule
-
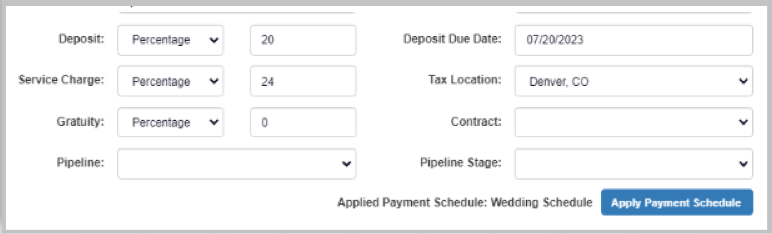
- Select Apply to add to the new event you are creating
- Your selected template name will appear in the Creating an Event window next to the Apply Payment Schedule button.
- Select Apply to add to the new event you are creating
APPLYING TO AN EXISTING EVENT:
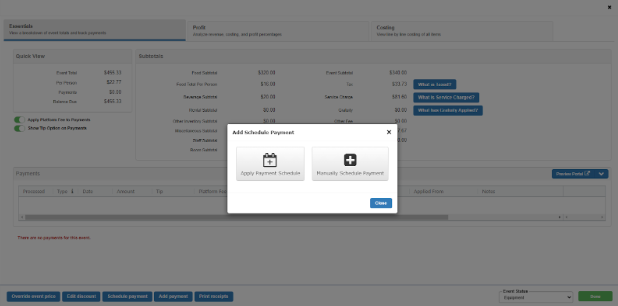
You can also apply Payment Schedules to existing events. Go to an existing event on your calendar and then to the event’s Financials section (Money Bag icon)
- Schedule Payment: Click this to open the Add Schedule Payment options window
- Apply Payment Schedule: Click this to choose a Payment Schedule template
This will bring up the Payment Schedules window for you to choose an existing template or create a new one using all the steps from here.
REMEMBER: You can make any changes to the deposits/payments that are in the chosen template and/or to the email message.
Any changes made will only apply to the specific event it is being added to.
NOTE: If a Payment Schedule is applied to an event, and any scheduled deposits/payments are already overdue (scheduled due date based on template rules has passed), deposits/payments will be sent in next available window.
To avoid this, please check the scheduled dates for payments to be applied.
Editing Existing Payments (Financials)
Payments added automatically from a Payment Schedule will be shown in the Payment Section of the Financial Module.
Each Payment will list the schedule it was applied from, the amount, and when the notification is set to be due to the client. It will also show if it was edited and changed for the event from the default version of the template.
 In this example we have a schedule payment of $100.00 due on 07/31/2023 with a scheduled reminder to be sent on 7/18/2023 via email. The payment was also edited from the default version (default template name One Week Before and After) as indicated in the Applied From column.
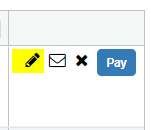
To edit a deposit/payment, select the pencil icon to the right of a payment
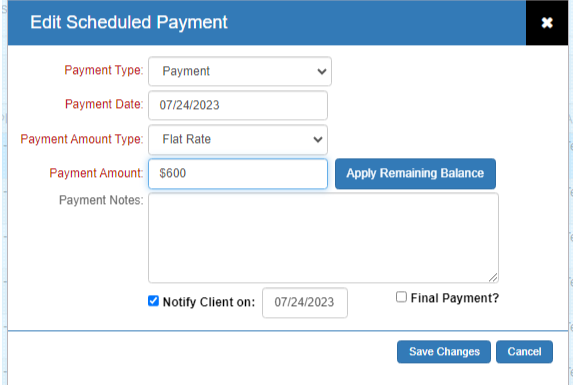
Edit Scheduled Payment
Here, you can adjust the Payment Amount & Due Date as usual
Send a Payment Reminder Manually
Sometimes you may want to send a payment reminder early or resend a payment reminder.
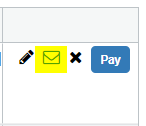
Select the Email icon to the right of any scheduled deposit/payment to open the compose email window and send a reminder for that single deposit/payment to the client.
Once a payment is sent automatically by the emailing system(or manually), the email icon will turn green to indicate that payment has been sent successfully.
You can hover over this icon to see the date and time of the last email sent for this payment.
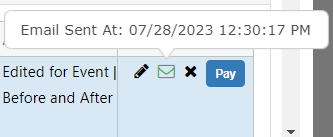 You can send a reminder any time you like. The date and time will always reflect the most recent correspondence sent.