Times Tab
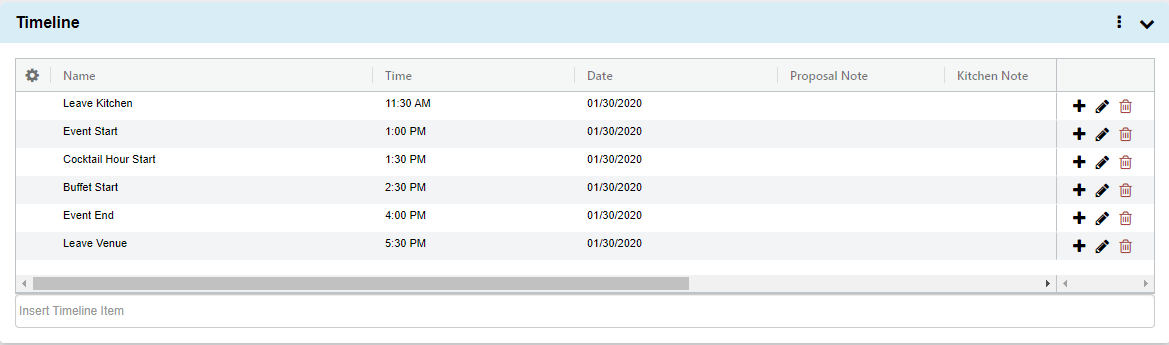
- Click on the Timeline tab of the event view screen.
- If either the event start or end times were entered on the Creating an Event pop-up window, they will already appear in the grid.
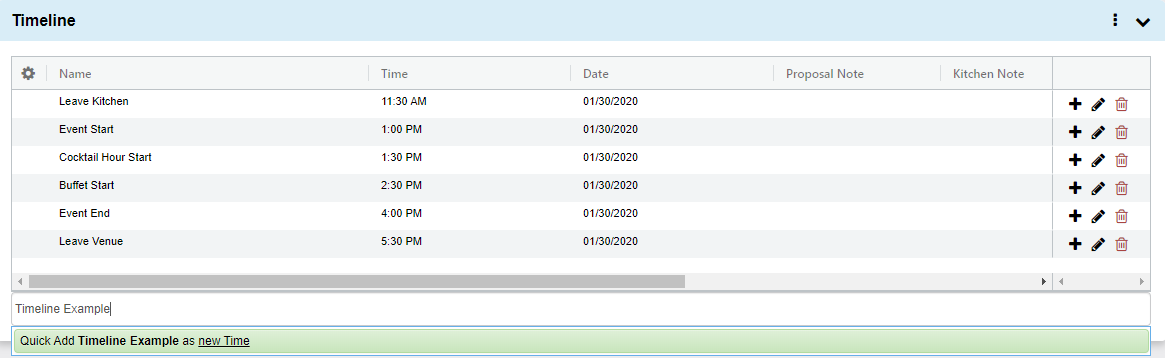
- Type the desired timeline label into Insert Timeline Item field below the table to search for existing times in your database.
- If the time does not currently exist, you can add it by clicking “Quick add as new time”.
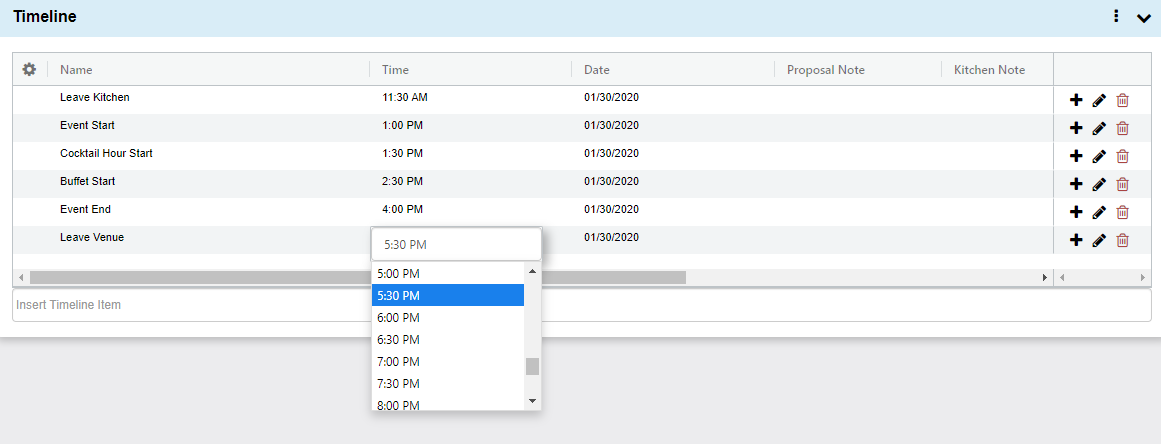
- You can click on any area in the grid with text to add/edit it within the table.
Notes Tab
Note: all fields are optional
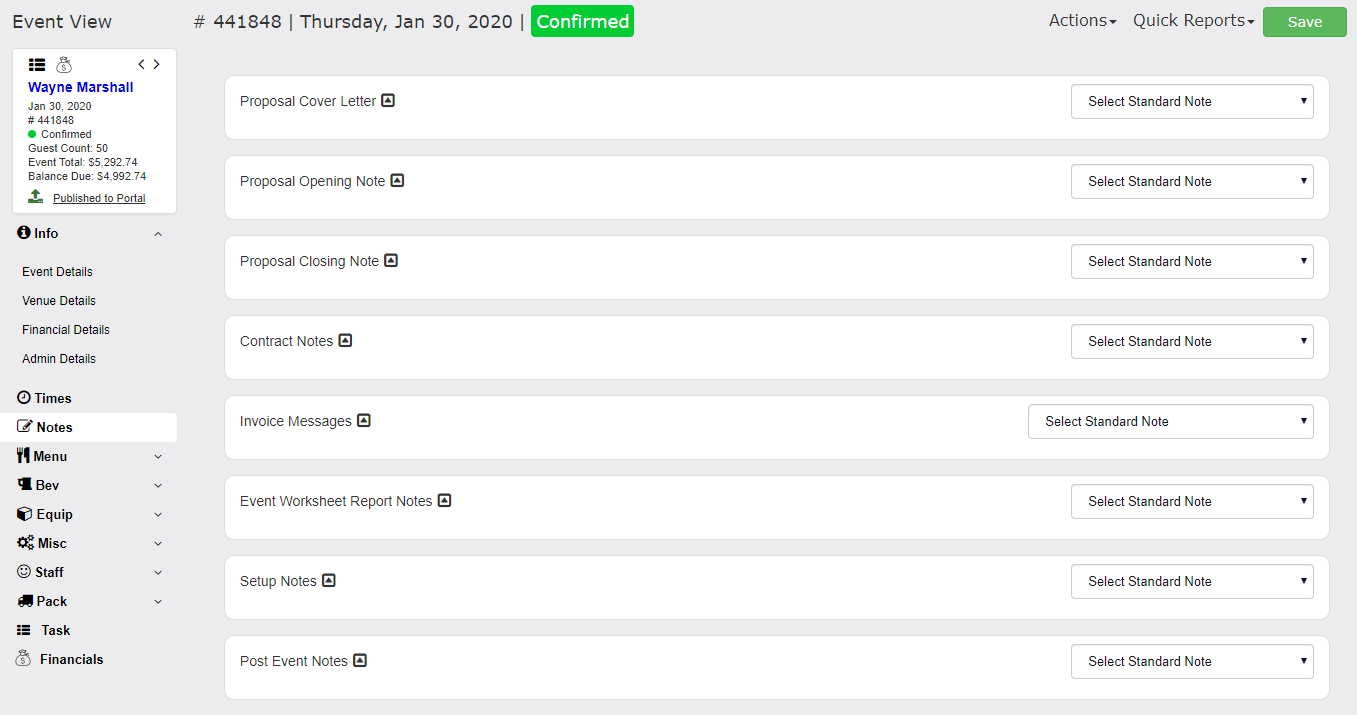
- Click the Notes tab of the event view screen.
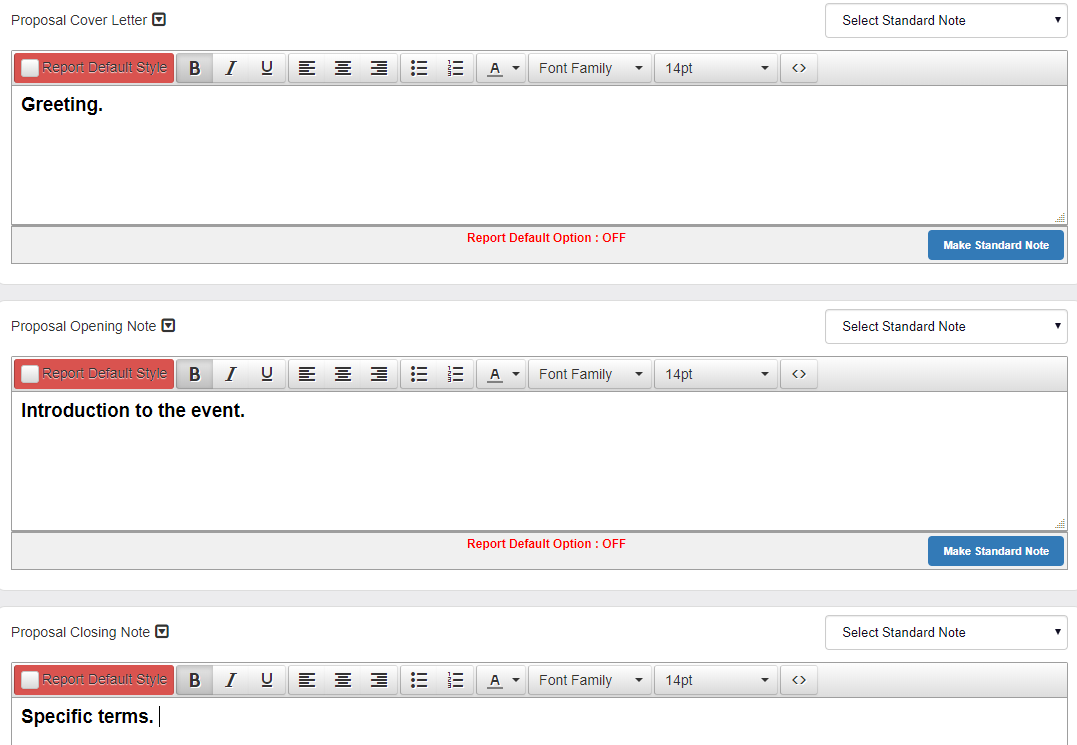
- Proposal Notes are broken down into a Cover Letter, Opening Note, and Closing
- Note. You may want to use the cover letter as a greeting, the opening note as an introduction to the event or menu, and the closing notes to get more specific about terms, etc.
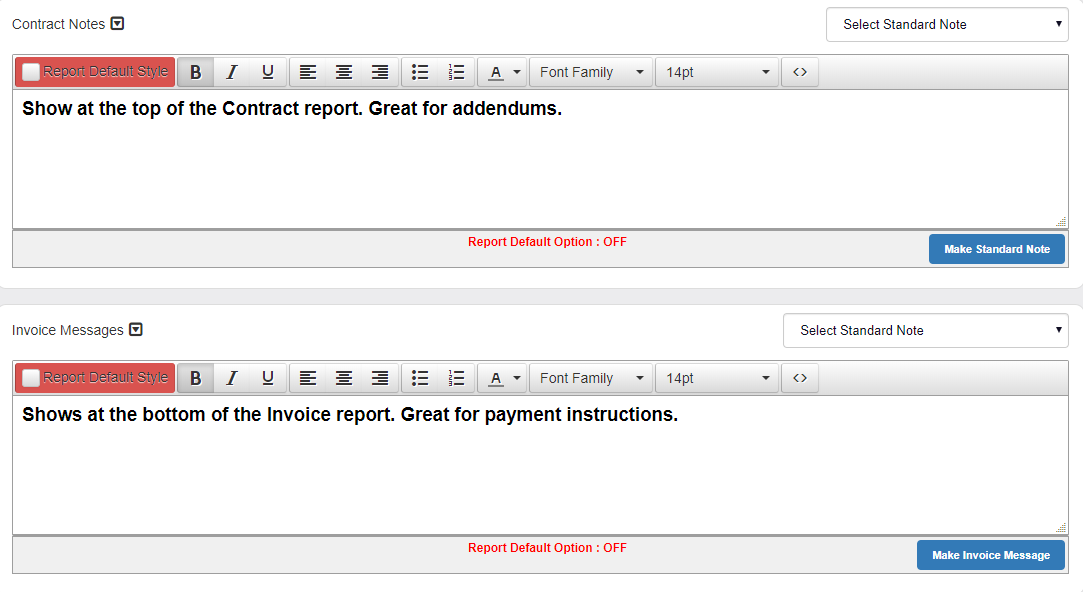
- Contract and Invoice Notes will populate in a special event specific section of the respective reports.
- Enter Event Worksheet Report Notes and Setup Notes.
- These notes print to the Event Worksheet & BEO report.

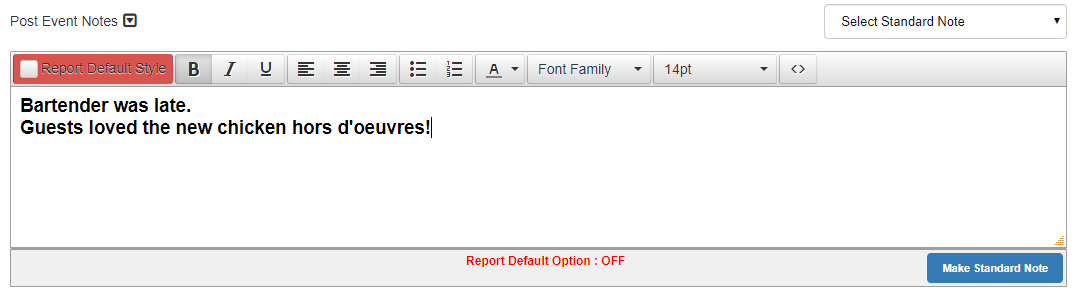
- The Post Event Notes section is for your team’s use after the event.
- Any notes you would like to save after the event has taken place will go here for your reference.
- This is a good way to keep track of feedback from events for later reference.
- There is a Post Event Notes report that can be pulled across a date range to get an overview of this information.
Be sure to click the Save button at the far right of the event header!