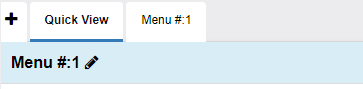
Menu Tab
- The Quick View tab shows you all of your menus on one screen!
- Click the Pencil next to Menu #:1 to rename your menu, then press the check that appears to save!
- Before adding any menu items, you’ll want to decide the type of costing for the event.
- There are 2 pricing models built into the database:
- Per Serving Pricing
- Itemized Pricing.
- There are 2 pricing models built into the database:
Per Serving Pricing
Per Serving pricing (sometimes called Per Person pricing) takes the number of servings you specify and multiplies by the designated cost per serving.
- Enter the total number of Servings (initially defaults to the event’s guest count).
- Enter the Price Per Serving.
- This is the flat price you are charging for everything shwing on the selected menu tab.
- Next, you’ll want to double check your taxes for this menu, as well as whether Service Charge and Gratuity should be added.
In this example the client is charged for 55 Servings @ $20 per serving = $1100.00 on the invoice.

Itemized Pricing
Itemized pricing (sometimes called à la carte pricing) calculates event menu items prices individually.
- The Servings and Per Serving Price are inactive since itemized pricing is set individually on each item you add.
- Next, you’ll want to double check your taxes for this menu, as well as whether Service Charge and Gratuity should be added.
In this example, 2 items are priced at at $25.00/each and 1 Cheese Tray at $66.00/each = $116.00 on the invoice.

Adding Menu Items
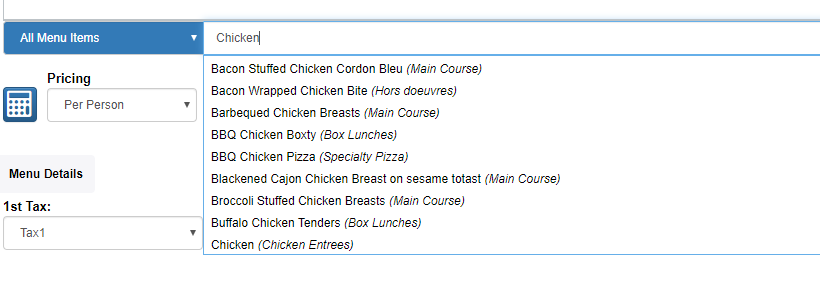
- To start adding menu items to this event, click beneath the menu window on Insert Item Name, and begin typing to search all of your menu items for matches.
-
- If a Menu Item does not currently exist, you can add it by clicking the green Quick Add item name as New Item

- Search for one of the menu items added to your database on the Add Menu Items tab.
- Note: You will have to type at least 3 letters for results to appear.
- Click the Menu Item you want from the results list to add it to the event!
- You will then be asked to set the amount of that item to add to the event.
- Note: It will default to your event’s guest count.

- Type in the quantity, then select a unit, and hit enter, or click elsewhere, to save!
- Repeat this process until you have added all your menu items!
- You can click into any field in the grid to edit!
- This will allow you to add Proposal Notes & Kitchen Notes specific to any item!
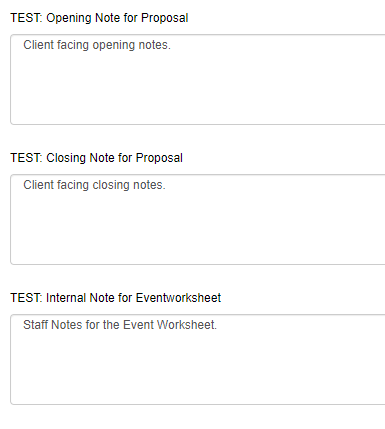
- To add Notes to the overall menu, scroll down and click into any of the notes fields!
-
- You may enter any Proposal Notes (for the Proposal of Service report) or Internal Notes (for the Event Worksheet/BEO report).
- Click the Save button at the far right of the event header.