Adding and Updating Menu Items
Menu Items are the items that appear on your menus. To clarify terminology, inventory items are the ingredients and other items on your shelves. Recipes are how you combine the ingredients. Inventory items are combined together by recipes to form Menu Items.
Adding Menu Items
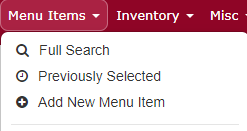
To add a new menu item, go to Menu Items > Add New Menu Item.
The Add Menu Item screen will appear.
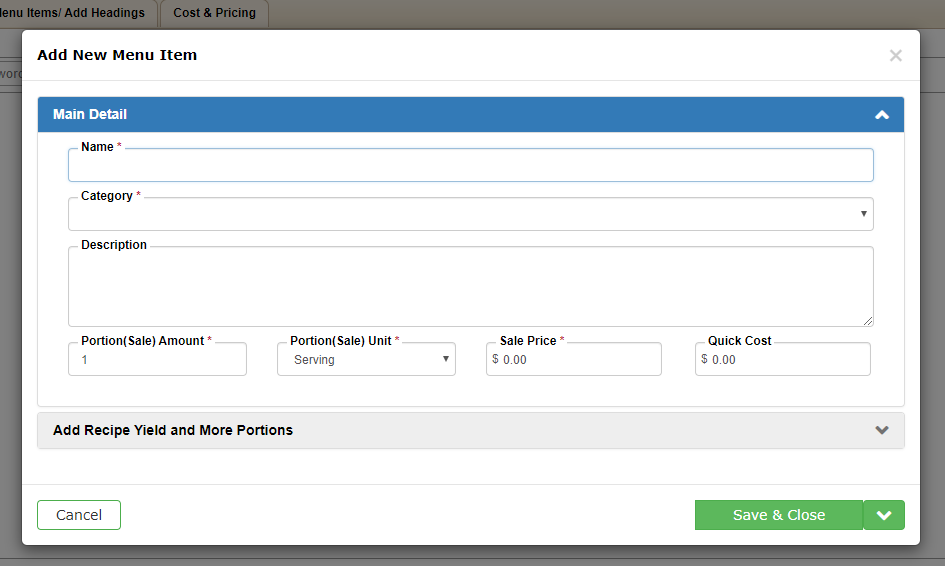
To create a new menu item, all you are required to enter is a Menu Item Name and a Menu Item Category.
The Station drop down menu is helpful if you want to know which station of your kitchen is preparing this item.
Feel free to enter in a Description of the menu item – this will appear on your proposal so make it enticing!
Every item needs a Sale Price, even if it is just $0.00. If you ever sell this item a la carte, please enter the sale price here.
Quick Cost is helpful if you need to keep track of your food costing but don’t plan to enter recipes into Total Party Planner. Enter an amount in this area if you always know how much it costs you to prepare this item.
If this item is a cocktail or other house-made drink, check off the Item is a Beverage check box.
Check off the Item is used as a Sub-Recipe check box if you will ever use this menu item as an ingredient in another menu item’s recipe. (Example: Salad dressing would be a sub-recipe menu item for a salad)
Click Save!
Menu Item Search
To search for a menu item go to Menu Items > Full Search.
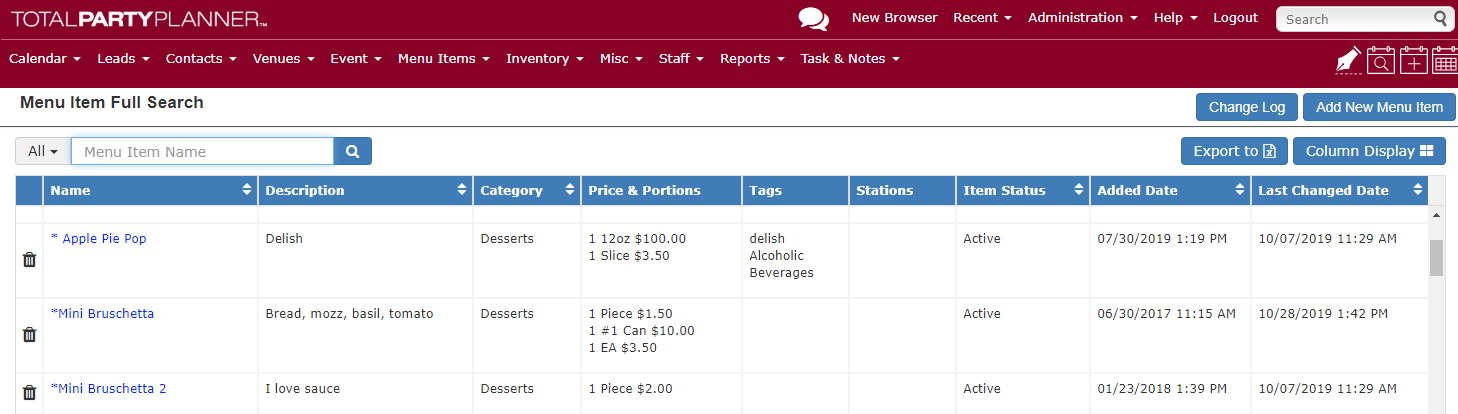
You can type in the item name in the search box, search by category, or both. You can also choose to view your inactivated menu items if you would like to do so.
Deleting a Menu Item
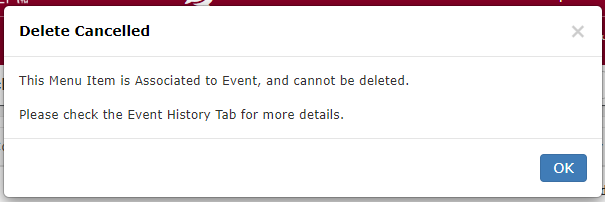
Deleting a Menu Item removes it from your database completely. Deleting can not be undone, so be certain that you will no longer be offering this Menu Item before you delete it. Total Party Planner will NOT ALLOW deletion of a Menu Item if it is associated with an event, to preserve your event and sales history.
Helpful Hint: Click the Event History tab to see a list of events that have used this menu item.
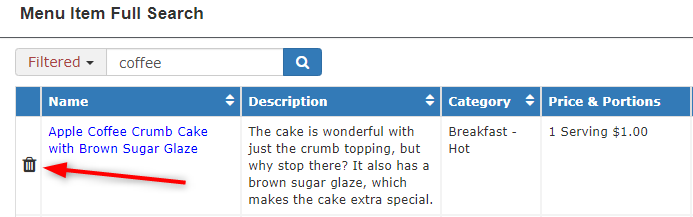
- Follow the Menu Items > Full Search option from the Navigation Bar.
- Select the Menu Item to be deleted by clicking the Delete link.
- Click Yes to confirm the deletion. You will note be able to delete the item if the menu item is associated to an Event. Instead, you will need to discontinue it.
Discontinuing a Menu Item
1. Go to Menu Items > Fully Search.
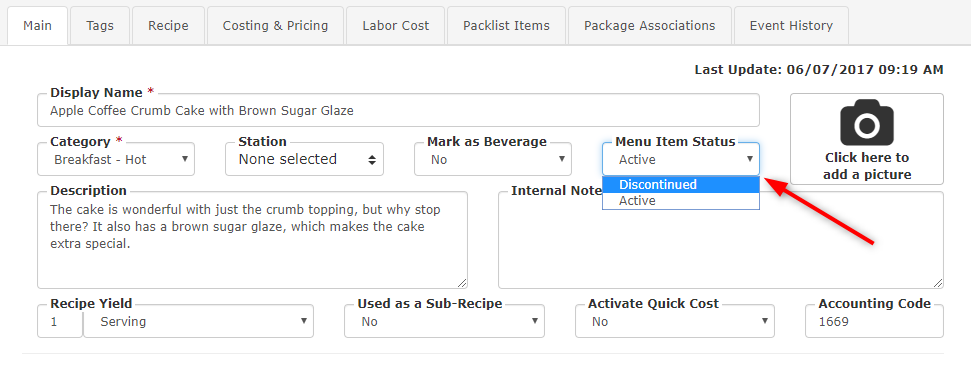
2. Select the Menu Item to be discontinued.
3. Change the Menu Item Status to Discontinued.
4. Click Save.
Updating Menu Item Sale Price
To Add a New Price Segment
- To update the price starting on a specific day, go to your menu item (by going to Menu Items > Full Search), go to the Cost and Pricing tab and click the Add New Segment button.
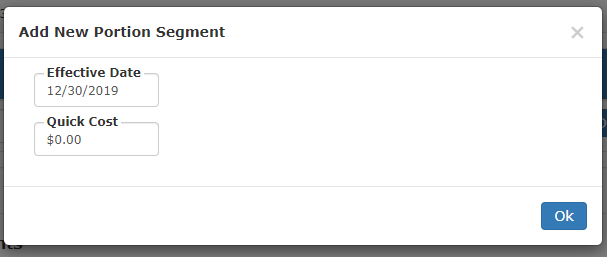
- Next, choose the date you want the new price to take effect. You also have the option of entering a quick cost here if you would like to do so. Then click Save.
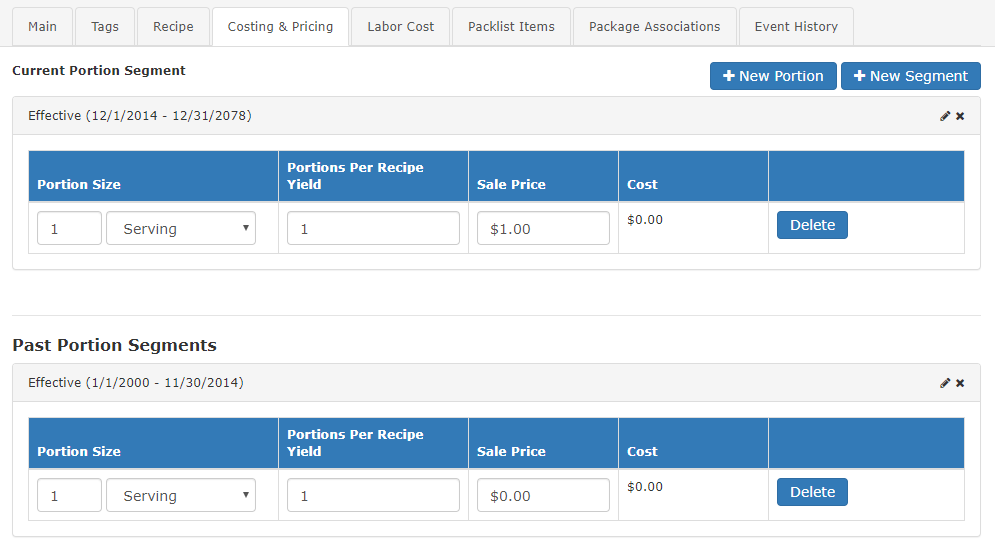
- Your Cost and Pricing tab will now reflect the effective date as well as show the history of your pricing. You can change the sale price of your menu item now here.
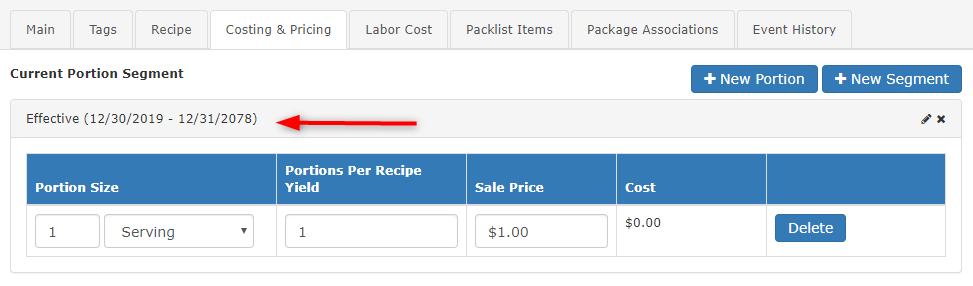
- Please note: This change will only be apparent on any event created after making this change. Any event already existing in Total Party Planner will have the old price, regardless of the date of the event. If you want any of these prices updated you will need to go into each event and update them manually. This is to safe-guard against sending a client a proposal with one price and then giving the same client an invoice for a higher price. To easily see which events have this particular menu item on the menu, go to the Event History tab.

 To Edit a Price Segment
1. Click the Edit icon next to the price segment you want to edit.
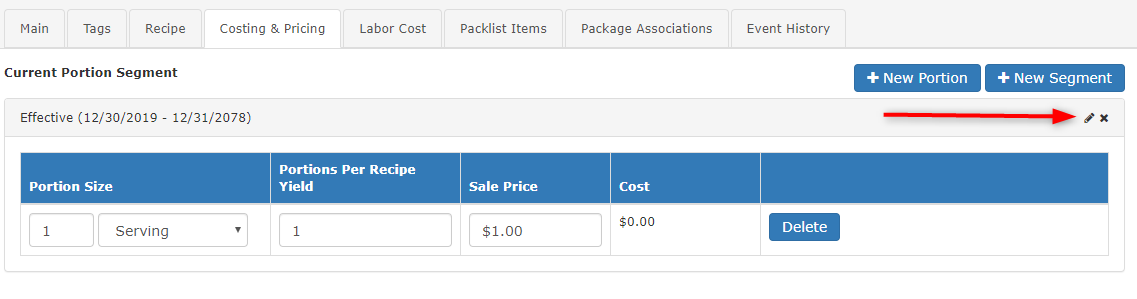
2. Adjust the effective date and Quick cost as needed.
To Delete a Price Segment
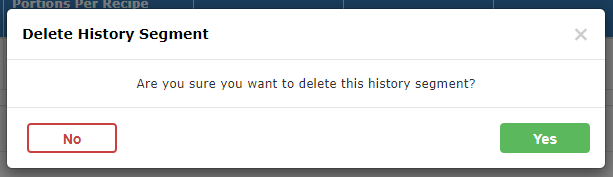
1. Click the Delete icon next to the price segment you want to edit.
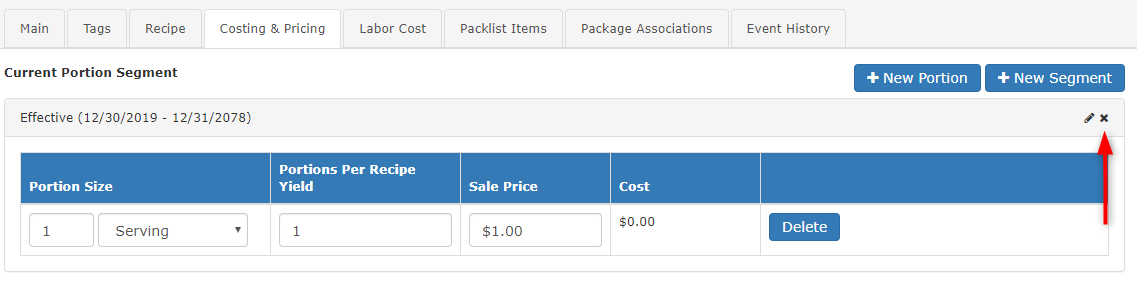
2. Select Yes to delete.
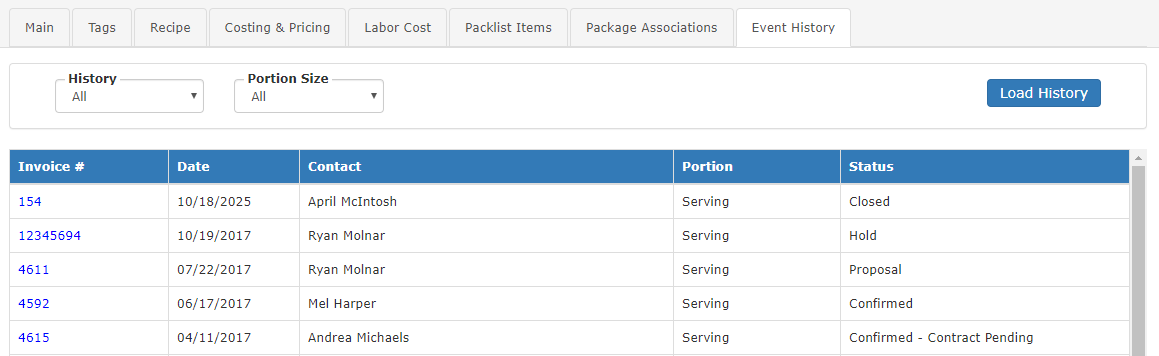
Menu Item Event History
- Select the Menu Items > Full Search option from the Navigation Bar.
- Select the appropriate Menu Item by clicking the item link.
- Once a Menu Item has been selected, any events associated with that Menu Item can be viewed by clicking the Event History tab and pressing the Load History button.
- The default number of Events viewed is for a time frame of 3 months. To see more Events, simply change the time frame in the History selection list.
- You are also able to narrow the results per portion size in the 2nd drop-down menu.
- To view an Event, click the appropriate Invoice #.
Cost and Price History
The cost and sale price of the items you use to prepare your events (menu item sale price, inventory, wages, etc) will change over time. You want your current data to reflect current costs and your historic data to reflect historic costs. Total Party Planner allows you to do this by storing all cost and sale price related information in price segments on the Cost & Pricing tab of a menu item. These price segments associate each cost or price change with a starting and ending date. The advantage is that, while the cost of items change, Total Party Planner can produce accurate, up-to-date cost estimates based on current prices while providing accurate information about past events based on prices in effect when those events occurred. When adding cost history information remember that there can’t be any gaps between the dates of price segments and that the date ranges cannot overlap. The most current segment is always at the top.
Previous Cost Segment(s):
- Select the menu item you wish to view or edit via the Full Search option under Menu Items on the Navigation Bar.
- Select the Menu Item Cost and Pricing tab if it not already selected.
- The Cost History (shown below) can be seen under Description on the Menu Item Main tab.
Add New Cost Segment:
- Click Add New Segment.
- Enter the Quick Cost (optional) and Effective Date.
- Hit Save to keep changes.
Important Note: The end date is automatically generated. A new segment must be added if you wish to change the end date of a segment. The last current segment will automatically update to the start date of the new segment.
Menu item tags allow you to categorize your menu items multiple ways by using unique tags. You can also use these tags to search for the items when building your event menu.
Step One — Start with an existing menu item. You will have it categorized in the main Category dropdown, but there might be other ways we want to categorize this item to make it easier to search for.
Step Two — Navigate to the Tags tab. Type in the word you wish to tag this item as. For example, if the item is vegetarian, type in Vegetarian and click Add. This tag is then saved to use on future items. You could add more, like a season or other dietary or theme tags.

As a side note: To edit any saved tags or to add more, you can navigate to Administration > Custom Lists and then select Menu Item Tags.
Step Three — To search for an item by tag, navigate to an event’s Menu tab and select Manage Menu from the toolbar to the left. Instead of typing in the item’s name as a search term, simply type in the tag you wish to search for. So, for example, you could search for all Vegetarian or Mediterranean items.
 Menu Item Packages
Package functionality allows you to combine a “standard” set of menu items into a bundle for quick addition on an Event menu. Another way to think of it is to design set menus (Package ‘A’ contains this particular entree, this particular side dish, this particular dessert, etc).
- Select the Menu Item > Menu Packages > Full Search option from the Navigation Bar.
- Click the Create New Menu Package button on the Menu Item Package Select page.
- Enter a name for this package in the Package Name: text box.
- Enter a Package Category: or click the Quick Add Category button to add a Package Category on the fly.
- Click the Save button.
- The Select Menu Items for page will display.
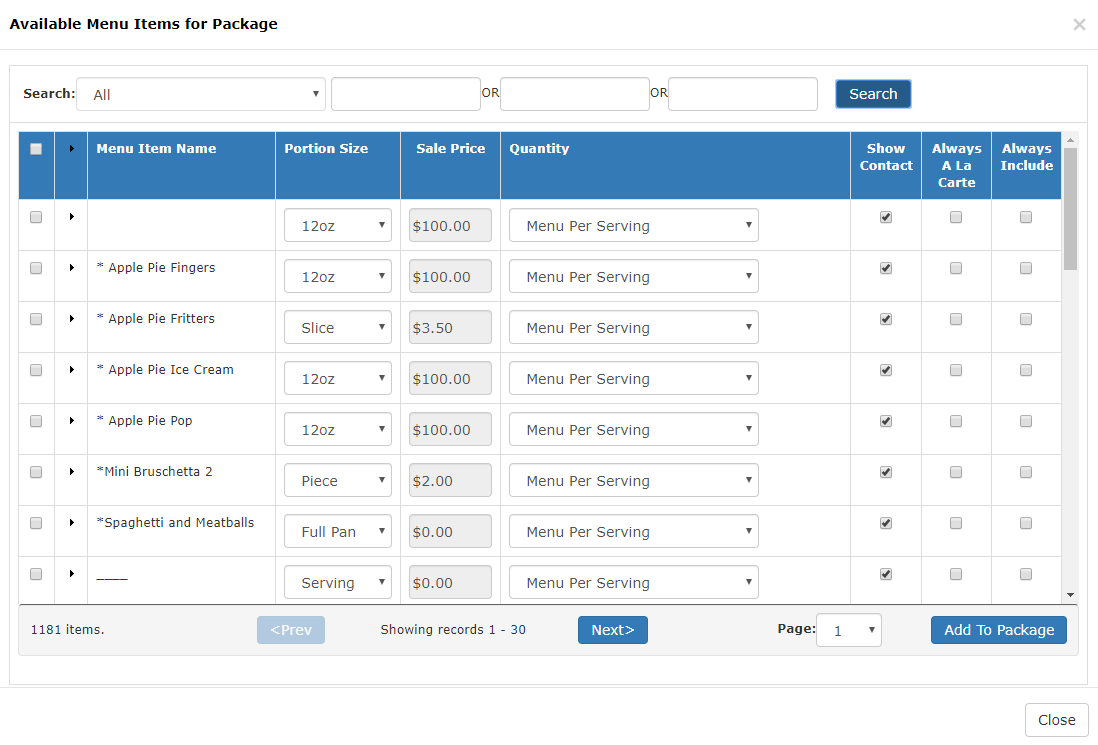
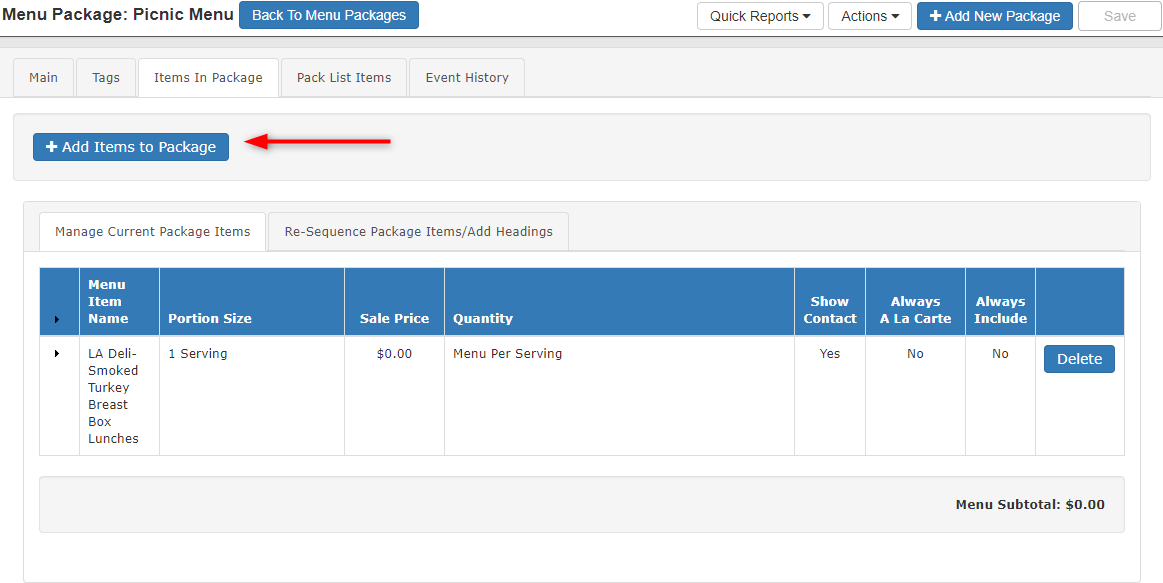
- From the Items in Package tab, select the Add Item to Pkg button on the left hand tool bar. Use the search boxes to type in keywords if desired and press Search. Select the menu items you want to include in your package from the search results below and click the Add to Package button. You can close out of this screen once you have added all of the menu items you want to include in your package.
8. On the next screen you will have the option to set the menu items as Always a la Carte and/or Always Included.

9. To add the desired items, make sure to check the box to the left of the menu item name and click Add to Package.
10. Click Save and you’re done!