Vendor information is used to associate inventory items to your purchasing vendor. The information is then used when creating your Order List report for the selected Event(s).
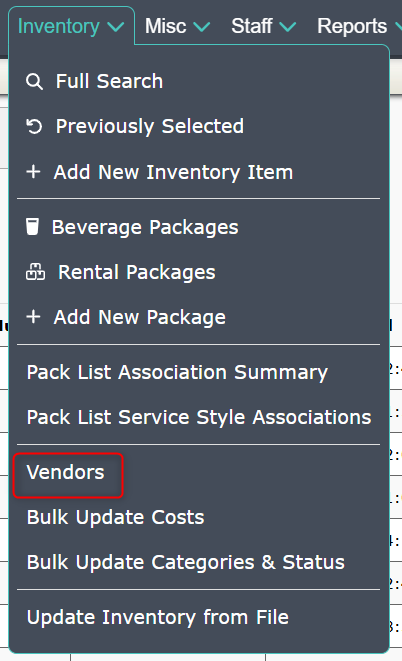
- Go to Inventory > Vendors from the navigation bar to go to the Vendor Full Search Screen
Adding a Vendor
- From the Vendor Full Search screen, click the Add New Vendor button
- This will open the Add New Vendor screen:
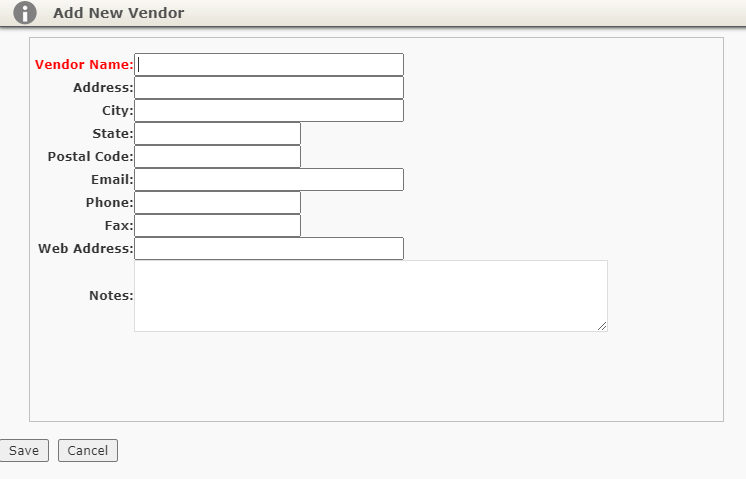
The only thing you are required to enter is the Vendor Name, but you may enter more information as desired
If you enter their email address then you can email an order list directly from TPP to the vendor
- Click Save when you are done
Editing a Vendor
- From the Vendor Full Search screen you may either enter a specific name in the search box to locate a vendor or choose from the list show
- Once you locate the vendor to be edited, click either Edit or the Vendor Name to open either edit option
Note: Edit will take you to the same screen from the Add A Vendor screen above with the selected vendors information in place
Clicking the Vendor Name will take you to the Vendor View page
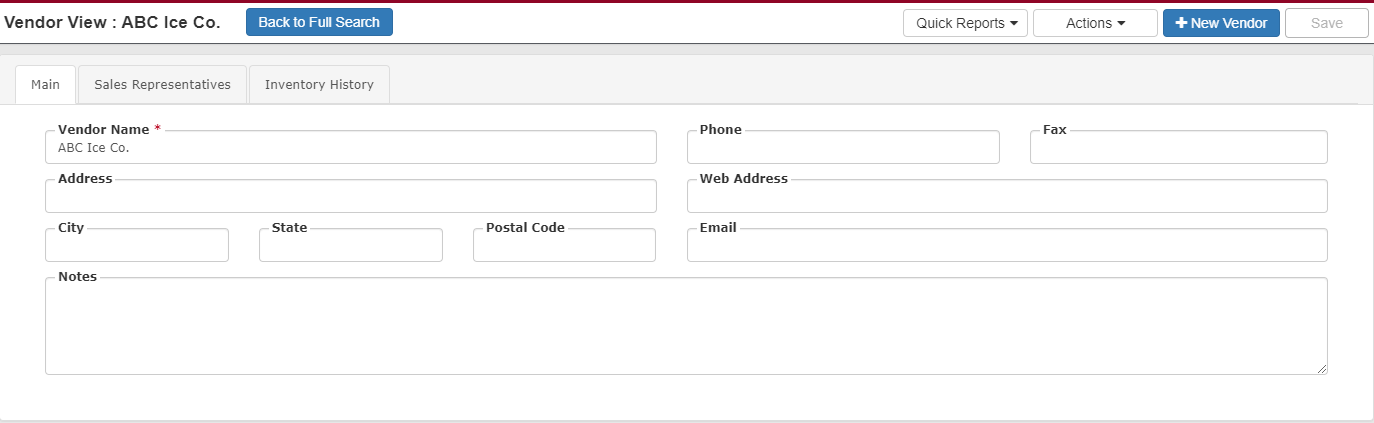
- On the Vendor View page you are able to make any changes and then press the Save button
- The Save button will change color to green when there are changes to be saved:
Example: ![]()
Additional Options
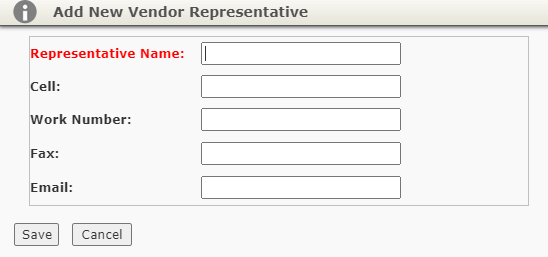
- Sales Representative: Enter the contact info for your main point of contact(s) at the vendor company
- Inventory History: See a list of events where the vendor is assigned to any items on the event
- Quick Reports: A list of reports related to vendor orders
- Actions: Delete Vendor is located here
- +New Vendor: Quickly add a new vendor here
Deleting a Vendor
You may delete a vendor in two locations:
- Clicking the Delete link on the Vendor Full Search list and click Ok in the pop-up window
- Choosing Delete Vendor from the Actions drop-down in the Vendor View
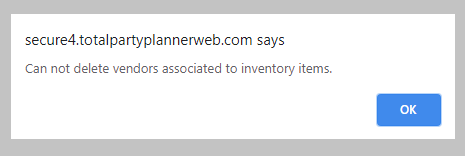
Note: You cannot delete a vendor if they are currently assigned to any items in your database or on events. Trying to do so will display this message: