The Query Generator allows you to create a specific customized report to get the information from Total Party Planner that you need.
The Query Generator customizes reports based on Event data, Contacts, and Venues.
***Note: The Query Generator cannot pull Menu Items, Inventory Items, or Leads.
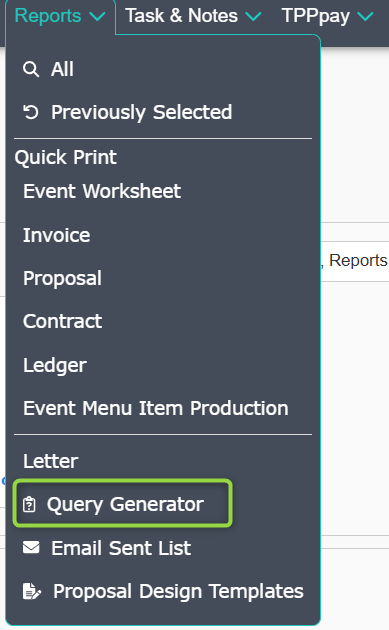
To access the Query Generator hover over the Reports section in the red navigation bar and select Query Generator from the menu.
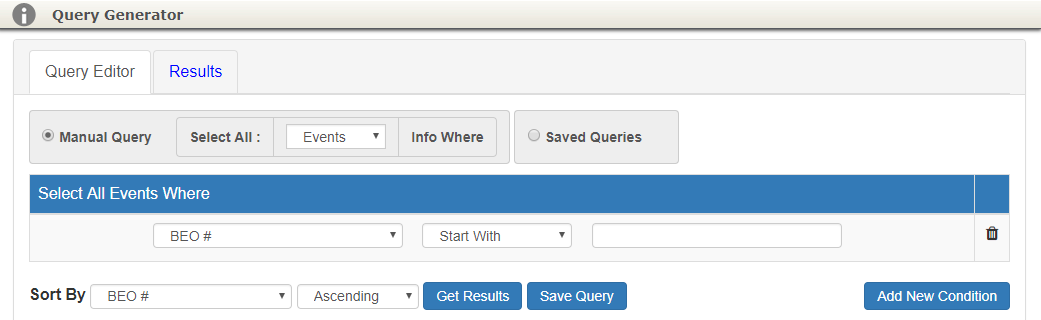
This will take you to the Query Editor screen to begin building your query.
Example One
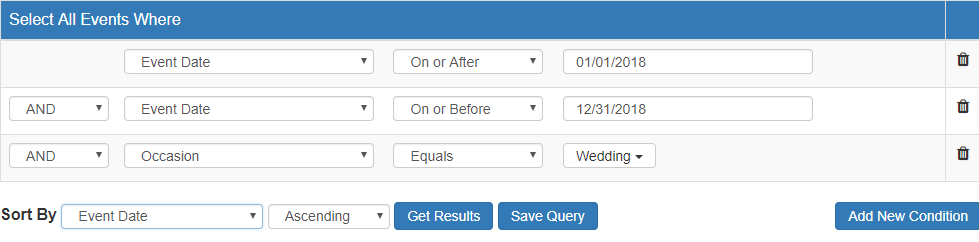
In this example we will create an event report that will show us all weddings that are on the calendar for 2018.
Note: You may also use the Query Generator to create reports specific to Contacts, Leads, and Venues.
Conditions
- Set your beginning date range by changing the first drop down (BEO#) to Event Date

-
- In the Next field, choose On or After from the drop down
- Enter 01/01/2018 as the beginning date for the search
- Click the Add New Condition button and a new line will appear
- Set your ending date range by changing the first drop down (BEO#) to Event Date
- In the next field, choose On or Before from the drop down
- Enter 12/31/2018 as the beginning date for the search
- Click the Add New Condition button and a new line will appear
- Add Occasion type of Wedding from the drop-down
Additional Conditions
You may also add more conditions to the report if you want to get more specific results.
An example might be weddings in 2018 that:
- Happened at a specific venue
- Had a guest count of 100 or more guests
- Were a particular service style
- Were sold by a specific Salesperson
The options are very robust and you can create almost any report that will suits your needs.
Sort By
- We’ll sort by Event Date in Ascending chronological order for this example
- Note: The Sort By field automatically defaults to BEO# and can be changed to sort by multiple options
- Click Get Results to see your report
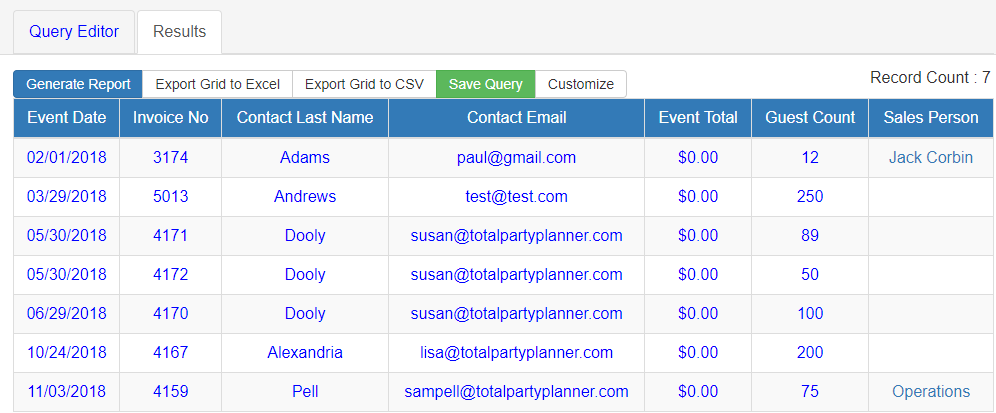
Get Results
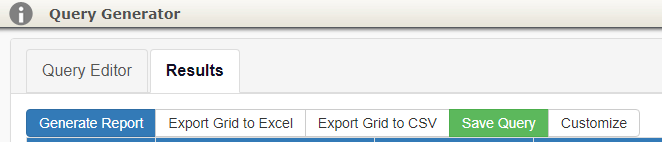
Once you have clicked Get Results you will be taken to the Results tab that will show the information you requested.
Initially the columns will default to:
- Balance Due
- Contact Company Name
- Contact First Name
- Contact Last Name
- Event Date
- Event Total
- Guest Count
- Invoice No
- Occasion
- Sales Person
- Service Style
If you are happy with those columns you can simply view the report on screen or export the report to open in Excel by clicking either Export Grid to Excel or Export Grid to CSV
This will download a copy in your chosen format to your computer.
You can then open in excel and further customize the report as needed.
Save Query
Results Options
Generate Report
Creates a report in PDF form:
- Invoice #
- Date
- Contact Name
- Company Name
- Status
- Service Style
- Occasion
- Sales Person
- Invoice Total
- Balance Due
Note: The columns in this option are re-selected and cannot be customized.
Export Grid
You have the option to export the customized columns to an Excel or CSV file
Save Query
Save Query allow you to save all the conditions and other options you have built in the Query Generator to use again in the future.
This saves you from having to build the query each time.
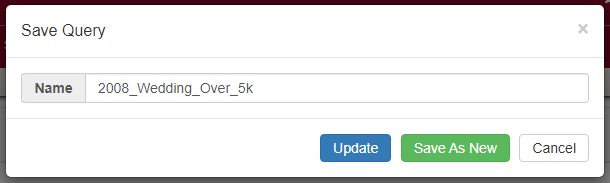
- Click the Save Query button
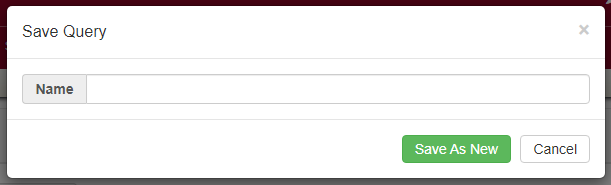
- Give the report a name so that you will easily recognize it in the future
- Click Save As New to complete
Customize
Once you click Get Results, you can change the columns that appear.
To change the columns:
- Click Customize
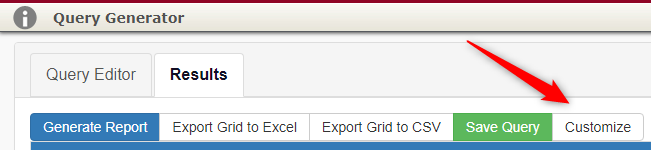
- The Customize Columns window will pop up
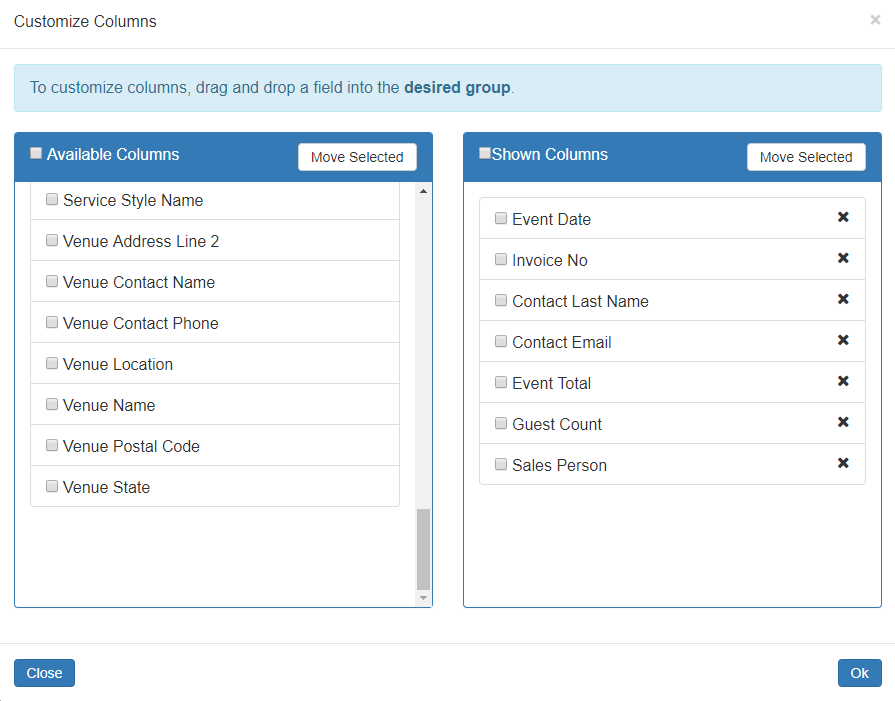
Available Columns:
These are the columns that are not currently showing, but can be added to the view.
Shown Columns:
These are the columns that are currently showing and can be removed or re-sorted in the view.
You may drag and drop between the two sections to change the columns shown or check the boxes next to what columns you want to add or remove and click Move Selected.
Once you have the columns that you want to see and have arranged them in the order you would like them to appear, click Ok and you will be taken back to your results.
Note: This is another opportunity for you to use Save Query to avoid having to build this report again in the future or to update an existing query.
Using Saved Queries
To retrieve a saved query go back to the Query Generator starting page and select Saved Queries.
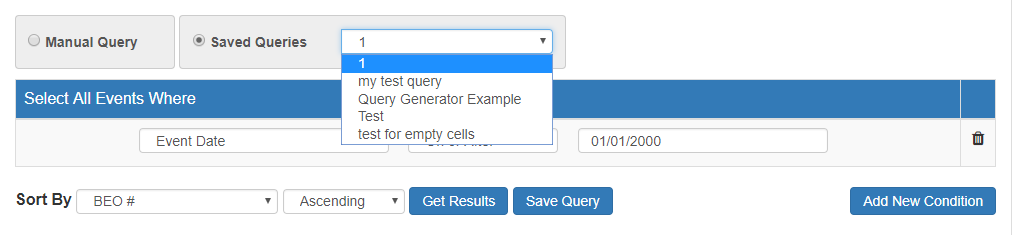
There will be a menu drop down that shows all Saved Queries available. Simply choose the query you would like, make any changes and click Get Results to generate.
Updating Saved Queries
If you are working with a report from your Saved Queries list and want to update:
- Click Save Query
- Click Update
Saved Queries may be deleted and their name can be changed from the Custom Lists section in the Administration Menu.
Please check with your company’s TPP admin to see if you have permission to do so.