Staff Hiring Manager Guide
The Staff Hiring Manager feature allows you to quick staff multiple events on the same screen.
Location in TPP
- Click Staff in the red toolbar and then Staff Hiring Manager.
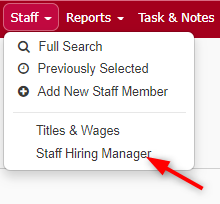
- This will take you to the classic version of the Staff Hiring Manager.
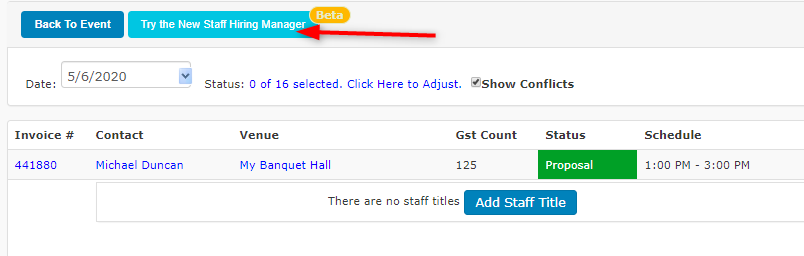
- To try the new version, click the Try the New Staff Hiring Manager button.
Search Filters
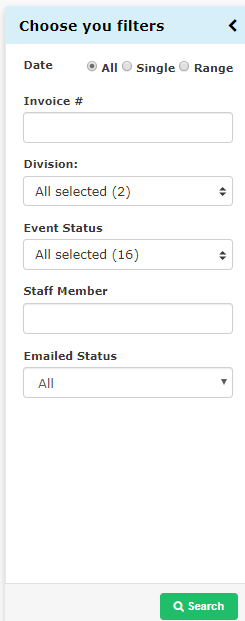
- First you’ll need to set your search filters.
-
- Date – Select all events, a single date, or a date range.
- Invoice # – Select all of events within the chosen date filter or search by a specific Invoice #.
- Division – If your company has Divisions then you can filter them here.
- Event Status – Filter to only show events with a specific status.
- Staff Member – Filter to view events that a specific Staff Member are assigned to or by Event Status or Division.
- Emailed Status – Filter the view to show only staff who have/have not been emailed about the shift from TPP.
- Once you’ve set your parameters, click the Search button to generate a list of events based on your search
parameters.
Staffing Events
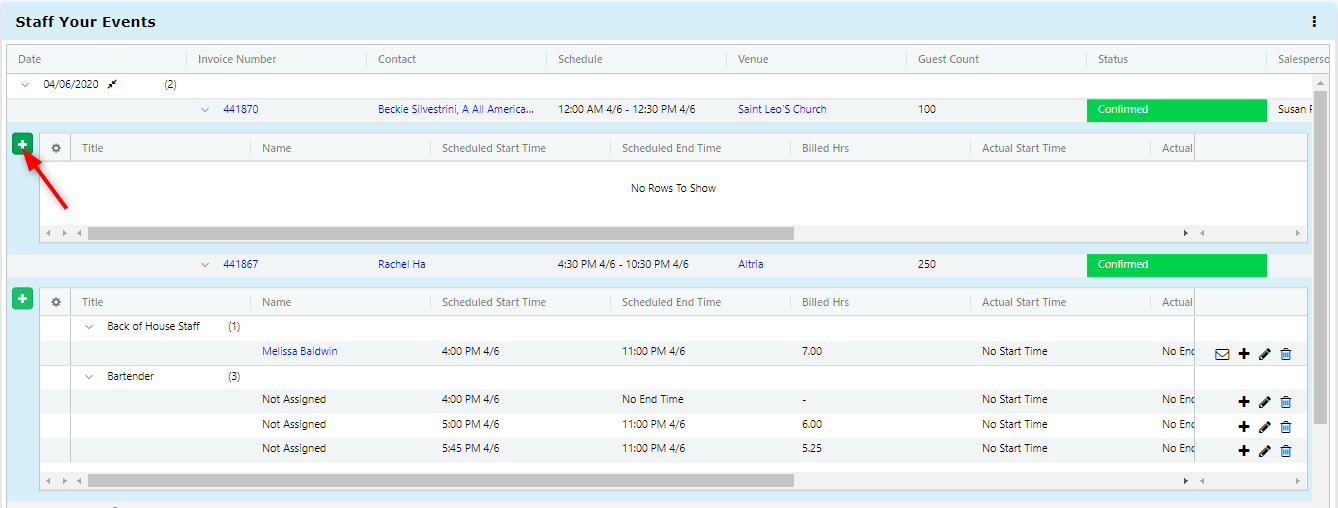
- Click the arrow icon next to the dates to expand those dates.
- This will allow you to see all the events scheduled for that date.
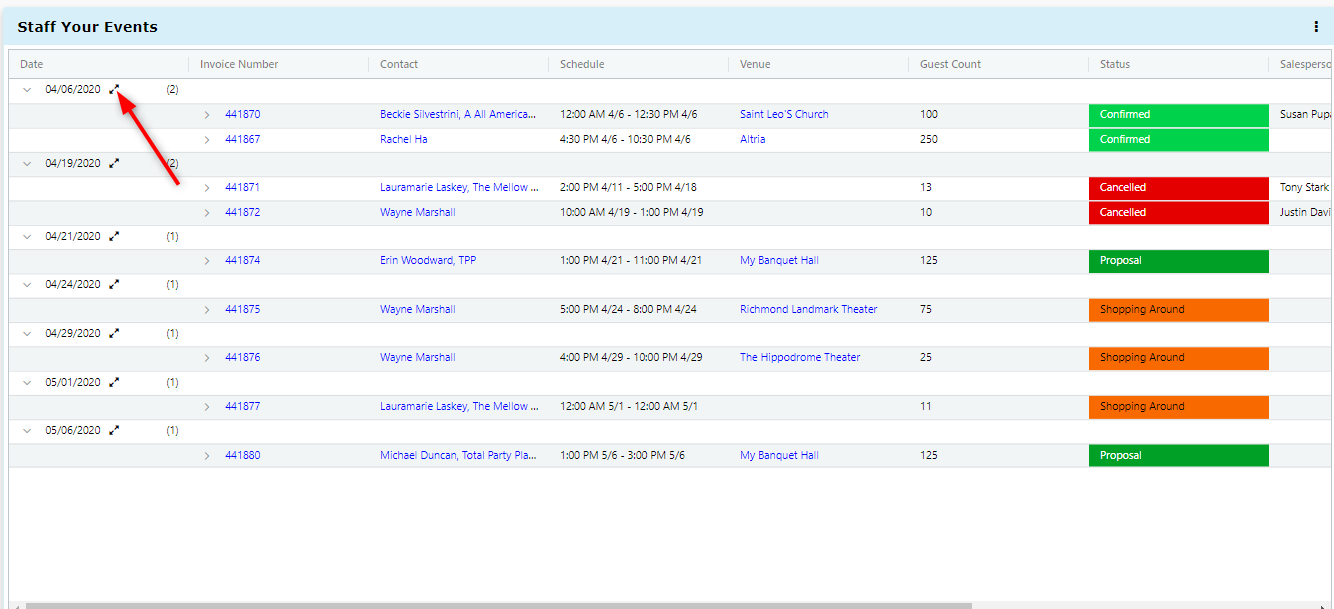
- If you only want to add staff to one event on a date, you can click the > icon to the left of the Invoice Number to open just that event.

- Find the event you’d like to add staff members to and click the green + icon to the left of it.
- Next, select a Quantity and Job Title.
- You can add as many of one title from this page as needed.
- Note: You are only able to select a specific Employee if Quantity is set to 1.
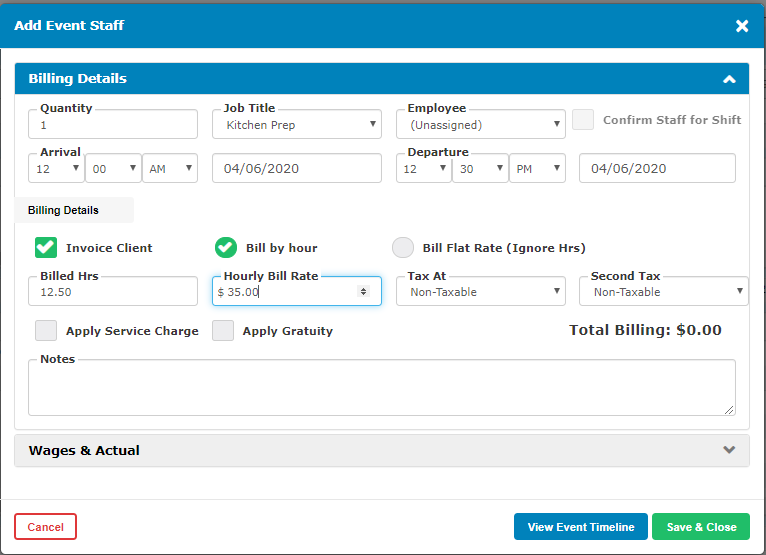
- You can change an Unassigned staff member to a specific Employee after they’ve been added.
- Arrival and Departure times are automatically generated based on the event’s timeline.
- You may also manually change the Arrival and Departure times.
- If you’re charging your client for staffing, be sure the Invoice Client box is checked.
- You may set the charge to your client as an Hourly Bill Rate or Bill Flat Rate (Ignore Hrs).
- Click Save & Close to add these staff members to your event.
Editing
- If you left the Employee field as Unassigned, you can easily assign a specific employee later by clicking on the Unassigned Employee field on the grid and typing the name of the employee you’d like to assign.
- A list of suggested employees will be generated from your database.
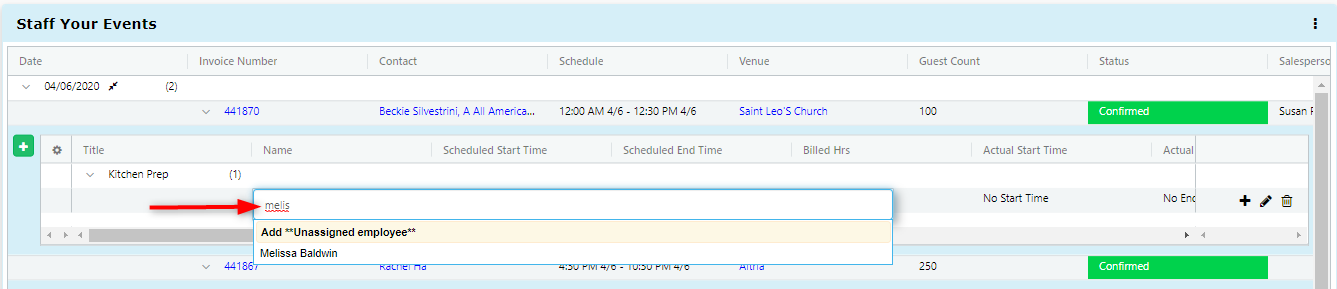
- If you need to remove an Employee or Unassigned Employee, simply click the trashcan icon to the right of that employee!
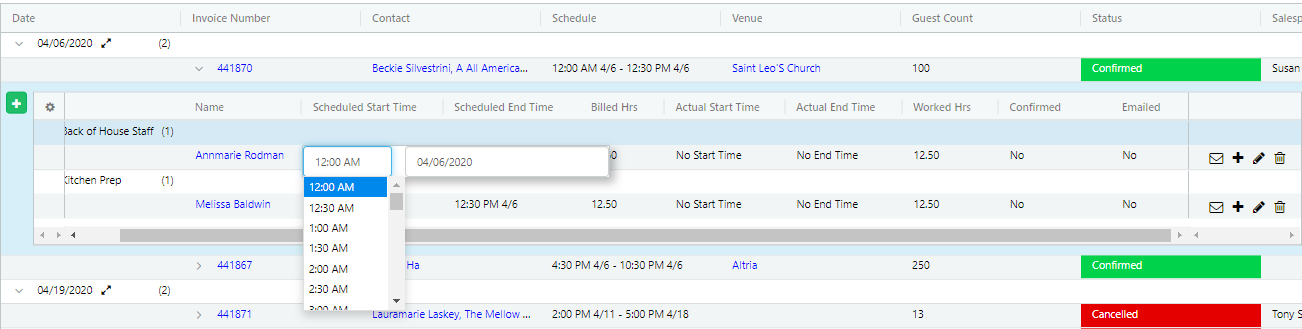
- This functionality also works for all the other fields on the grid (e.g. Scheduled Start Time, Scheduled End Time, Billed Hrs, Actual Start Time, Actual End Time, etc.),
- To edit these fields, simply click in and start typing.
Reporting
- To print a Schedule Report from the events selected in your search parameters, click the Print Schedule Report button in the drop down menu shown.

- This report will generate just like all of our other reports,
- You’ll have the ability to quickly send it off in an email and alter certain parameters.
*Note: that this is a beta version which is still undergoing final testing before its official release. The website, its software and all content found on it are provided on an “as is” and “as available” basis. Should you encounter any bugs, glitches, lack of functionality or other problems on the website, please let us know immediately so we can rectify these accordingly.
This guide serves only as a basic overview of the Staff Hiring Manager.
If you have any questions or would
like us to explain any of this in greater detail, please contact our Client Care Team.
support@totalpartyplanner.com