The Client Portal is an interactive platform to communicate with clients with less back-and-forth!
- Clients can now review their Event details online, make comments and approve details, and even pay their invoices, all from one link!
- It’s now easier for repeat clients to view multiple Proposals and returning customers can view previous Events to reorder their favorite foods.
Client Portal Settings
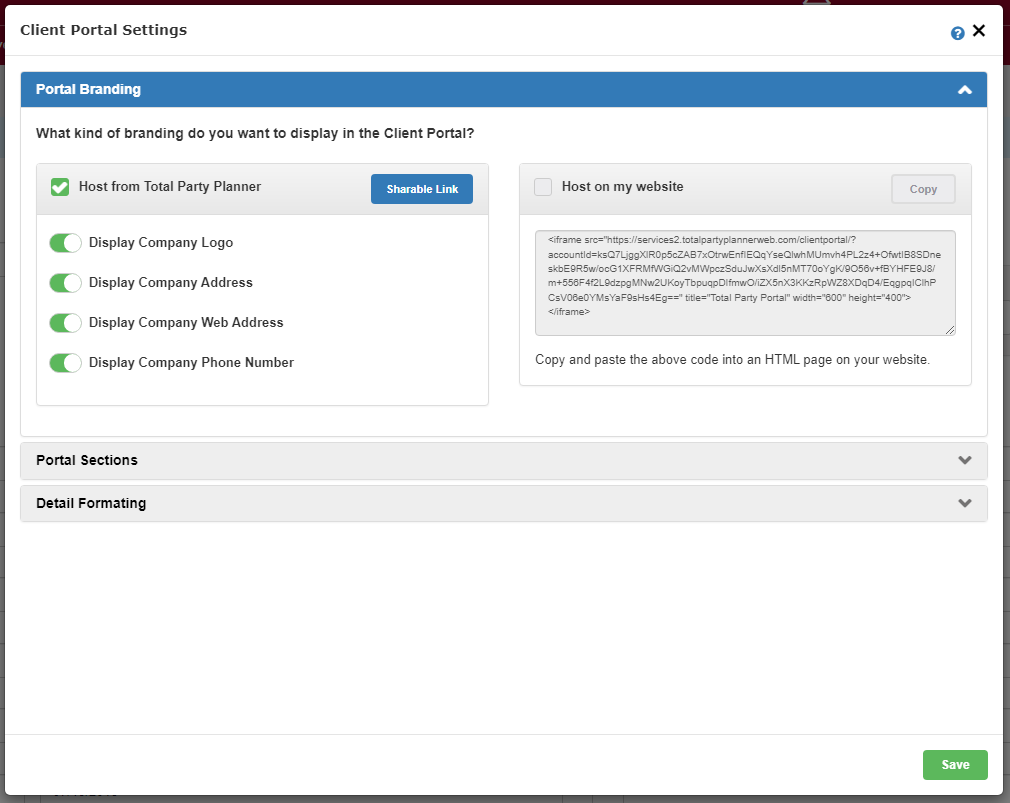
Go to Administration > Client Portal Settings to set all the defaults for the Client Portal.
NOTE: You will need to be an Admin on your TPP account to setup the portal.
Hosting
You can choose to host the portal on your own website or just send a link to your client to access the portal hosted by TPP.
Host from Total Party Planner
Hosting from TPP allows you to easily share a link with your client so they can log in and see any events you have published to their portal.
Host on my website
Hosting on your website allows you to insert the code into an HTML page on your site. When the client goes to that page on your site, they are able to login from there and see any events you have published to their portal.
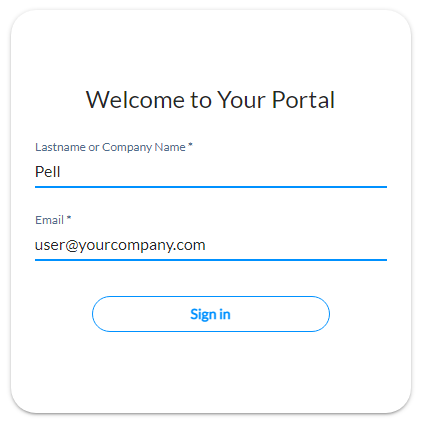
For both options, your client will be presented with the Welcome to Your Portal page where they will login using their Last Name or Company Name and the email listed on their event(s) with you.
Portal Branding
- Display Company Logo: Show/hide your company logo in the client portal
- Display Company Address: Show/hide your company address in the client portal
- Display Company URL: Show/hide your company web address in the client portal
- Display Company Phone Number: Show/hide your company phone number in the client portal
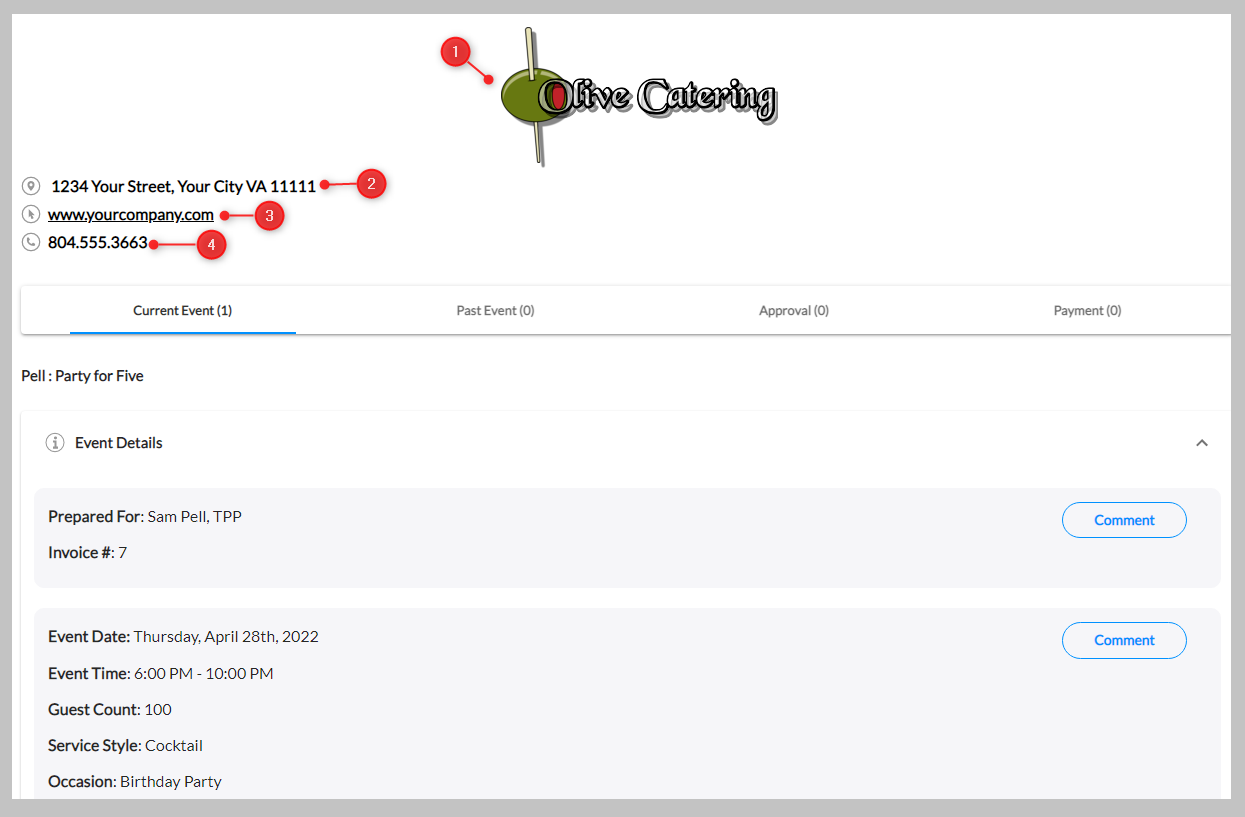
NOTE: All of this information is pulled from Administration > Business Information in TPP
Portal Sections

- Current Events: Show published events from the current date and future dates
- Past Events: Show published events from the past dates
- Choose how far in the past your client can view published events
- Online Payments: Show/hide Payments tab in portal
- Event Approvals: Show/hide approvals tab in portal
- Show second line in approvals for confirming final guest count
Detail Formatting
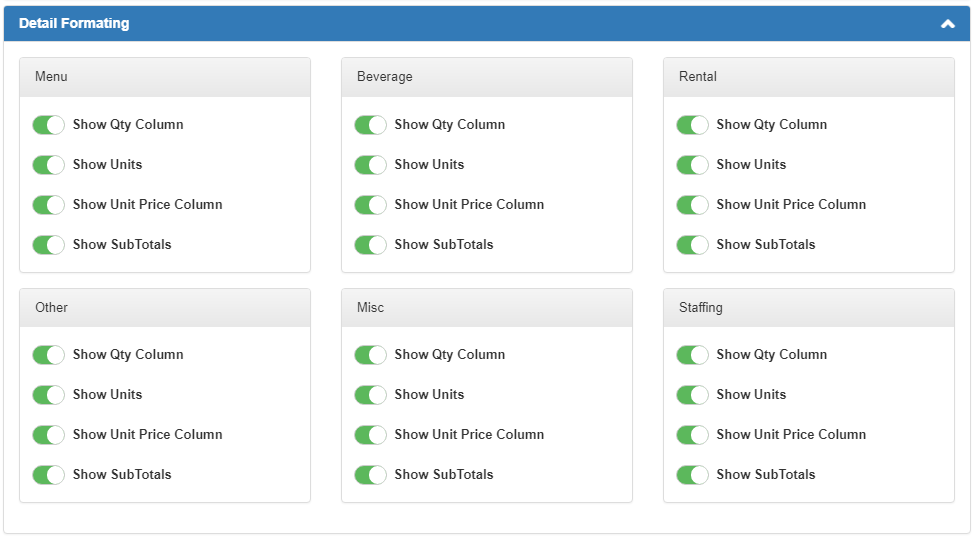
Show/hide different labels and information from the portal in different sections.
Final Step
Click Save once you have made all your selections