Pack List Tab Overview
Top Toolbar
In the upper left corner of the Pack List grid you will see a few options.

Group by: Decide how the items on the Pack List are organized on your computer screen.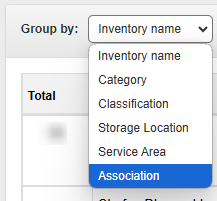
- Group By:
- Inventory Name: Sort alphabetically by the item name
- Category: Organize items by their assigned Category
- Classification: Organize items by their assigned Classification
- Storage Location: Organize items by their assigned Storage Location
- Service Area: Organize items by their assigned Service Area
- Association: Organize items by their Association
Hide Unpacked Items: If an item is automatically packed and you decide that it is not actually needed for the event, you can easily click the Unpack button to prevent it from printing on the Pack List.
Unpacked items will appear in yellow.
If you check the Hide Unpacked Items box, the unpacked items will also not be shown on your computer screen in the Pack List area.
Top Toolbar Continued…

In the upper right corner of the Pack List grid you will see a few buttons:
Manage Packlist
Manually add/remove items and make more updates on the pack list
Rebuild Packlist
Reset pack list back to default version before you made any edits
Unpack all items
Bulk update all items to Unpacked
Update Service Areas
Manually edit the Service Area assigned to items
Packlist report
Generate a PDF of the Pack List to view, email, and/or print
Pack List Tab Headers

There are several headers across the top of the Pack List:
Total
The aggregate total being packed (from all sources) for the Item.
Example: Below we have the Chafer, Disposable packed for the Chicken Piccata with a Qty of 1 and we have one that was manually packed (This Event Only) with a Qty of 1. The Total column adds both to show that you need 2 total for the event.
Item
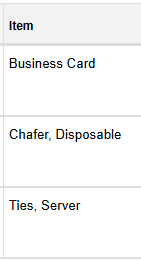
The name of the Inventory item that is on the Pack List.
Association
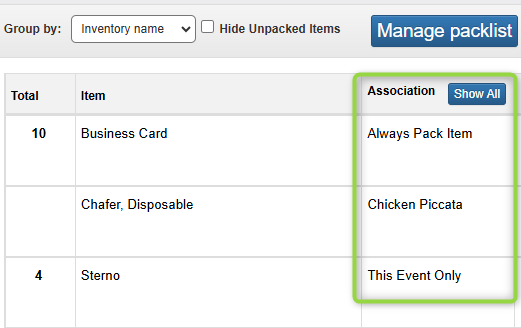
The reason the item is on the Pack List.
-
- There are three main labels that will be shown here:
- Always Pack: These are items that you have set up using the Always Pack functionality.
- This Event Only: These are one-off items that have been manually added to the pack list for this event only.
- *Item Specific Name*: These are items that were automatically packed due to a specific Menu, Beverage, Equipment, or Misc item being added as a line item on the event.
- There are three main labels that will be shown here:
Click Show All to reveal the hidden Associations.
Qty
The quantity of the item on the Pack List for the specific row as related to the Association.

Click the blue arrow up button to round up any partial quantities.
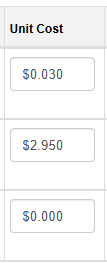
Unit Cost
Cost per individual item on the event as defined at the item level. (Optional function)
Costed?
Does the Unit Cost of the item need to be applied towards the overall event costing?

Check for Yes or Uncheck for No
Notes
Any notes added about this item that are specific to this event.
Pack List Note Added

Pack List Report Appearance

Resync
Click to ensure your packlist is up to date.
![]()
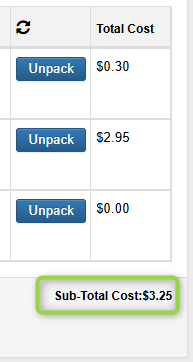
Total Cost
The Qty x Unit Cost for the item on a specific row.

Other Areas
Blank Column
Between the Association and Qty columns is a blank column. This is where you will see an exclamation point next to any items that have been manually changed/added from the default automations.
![]()
This would include any items you manually add to the pack list and/or any item quantities that you manually update.
Sub-Total Cost
The Sub-Total Cost will show the combined cost of all items on the pack list with the Costed? check-box checked.
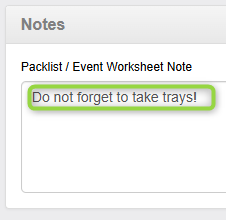
Notes: Packlist / Event Worksheet Note
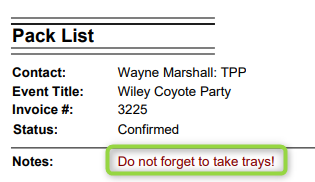
The Notes area is where you can leave a general note that will appear at the top of the Pack List when generated.
Pack List Notes Area Appearance
Pack List Report Appearance
