Publish to Portal
In each event there is an option to Publish to Portal in the upper right Quick Info area.
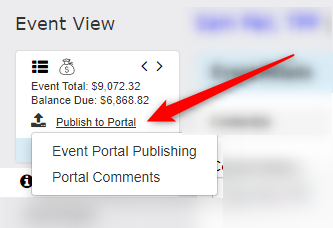
Clicking this link will open a drop-down menu.
Event Portal Publishing

- Published: Toggle this on/off to publish the event in the portal
- Link button: Click the blue link button to copy the URL for sharing
- Event Approvals: Turn of Approvals for this specific event
- Event Payments: Turn off Payment for this specific event
- Notifications Sent To: Choose what Sales Person(s) are notified when comments are made by your client about their event(s)
- Email: Bring up an email window where you can easily share the portal link with your client
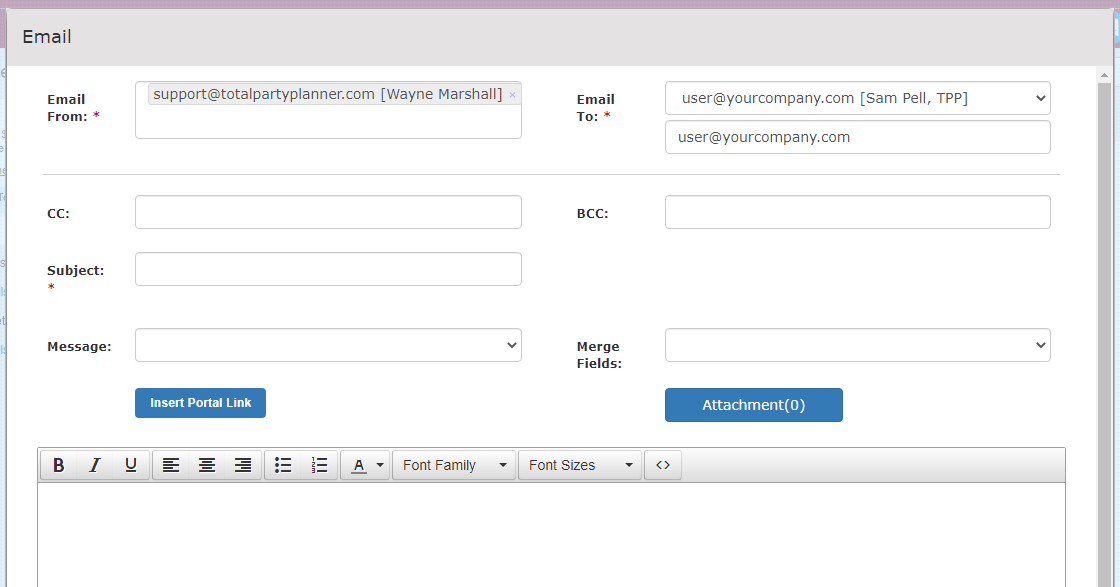
Once you have everything set, click Save to complete.
Portal Comments
Opens a sidebar that shows event specific comments left by your client in the portal.
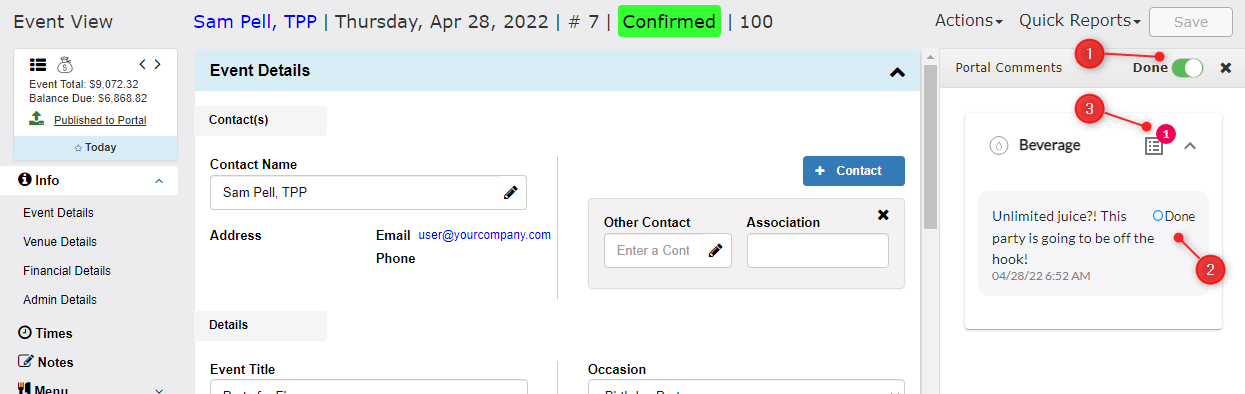
- Done Toggle: Toggle this to show/hide comments marked as Done
- Done Button: Mark comments as Done to remove new comment notification
- New Comment Indicator: This will show the number of comments that are not marked as Done
Press X to close the Portal Comments sidebar.
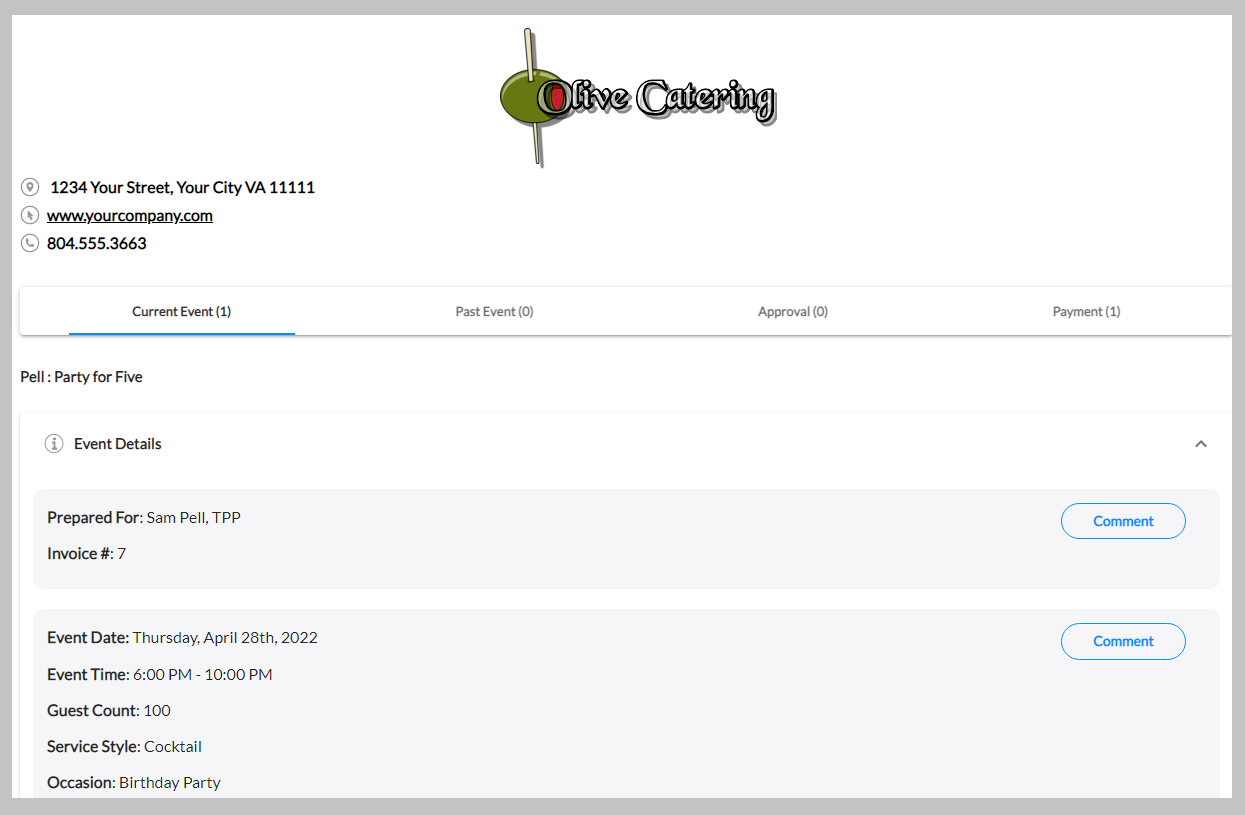
Client Access
You can email the published link to your client or you can use the Hosted option to allow your clients to login using their Last Name or Company Name and Email that is on the event.
Once they access with either option they will be able to:
- View their Current Event information that would normally be presented on the Proposal
- Make Comments in each area that will be visible to the person(s) chosen in the Notifications Sent To drop down
- See Past Event(s) (if this option is turned on)
- Give final event Approval, including Final Guest Count (if this option is turned on)
- See their posted and scheduled Payments (if this option is turned on)
- Make a payment via TPP Pay (if this option is turned on)
- NOTE: TPP Pay account required