Personalize your Logo by selecting Profile Menu > Administration > Upload Logo from the Navigation Bar.
 This will take you directly to the Logo tab in the Business Information area.
You can also locate this by navigating to Profile Menu > Administration > Business Information from the Navigation Bar.
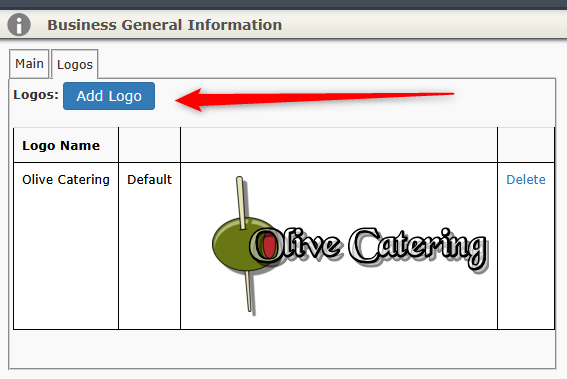
Adding a New Logo
To add a logo:
- Click the Add Logo button.
On the next screen click Upload Logo and then locate the image file on your computer that you want to upload.
![]()
Note: The filename must be an image file in .bmp, .jpg, .png, or .gif format.
The first logo uploaded will be the default logo.
If you have uploaded more than one logo, use the Set as Default link to set the logo you wish to be the default.
Note: Business Locations allow one logo per location.
Deleting a Logo
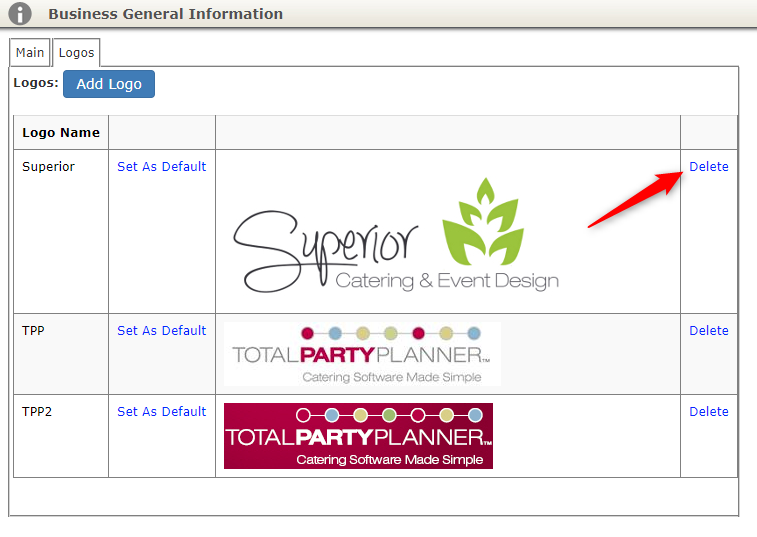
To delete an unwanted logo, select the Delete button to the right of it.