Updating Staff Data
The Staff features of Total Party Planner allow you to enter information about each member of your Staff including, Job Titles, Wages, Personal information and more. Each Staff member must have a Title to be assigned to an event. Staff members may have multiple Titles and associated salaries, allowing you the most flexibility in planning your events. In addition to tracking your staff costs, you may optionally invoice individual staff members at the same time of hiring.
Searching for Staff
Select the ‘Staff > Full Search’ option from the Navigation Bar.
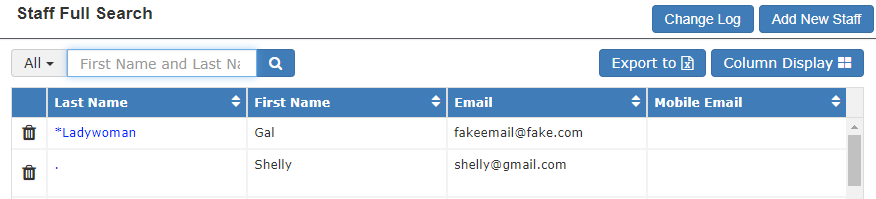
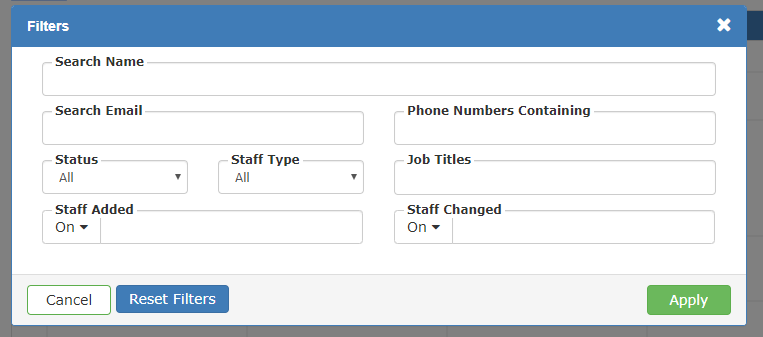
You can further refine your search list by filtering staff ‘Status’ by Active status, Inactive (will no longer require services in the future) status, or All. To do this, click the down arrow next to All to the left of the search bar and apply the desired filters.

Select a ‘Title’ to filter by job title.
Click the ‘Search’ button to apply filter criteria.
Click the Staff Member’s First or Last name to load the selected Staff Member’s page.
Helpful Hint: To quickly load the previously viewed Contact, use the ‘Staff > Previously Selected’ option from the Navigation Bar.
Adding Employee Titles
- Follow the ‘Staff > Titles & Wages’ option on the Navigation Bar.
- To add a new title, click the ‘Add New Title’ button.
- Fill in all the required fields. All fields in red text are required.
- ‘Hourly Wage’ — Enter an hourly wage for this Job Title. This standard wage will be applied to all Staff members who are assigned this Job Title.
- ‘Contact Rate’ — Enter the contact rate for this title. This is the charge that will be reflected on the invoice.
- ‘Start Date’ — The Start Date must be on or before the first time this Title is associated with any event.
- Click the ‘Save’ button.
Adding Staff
- Select the ‘Staff > Add New Staff Member’ option from the Navigation Bar.
- Enter the required information for a staff member.
Note: All fields in red text are required.
-
- ‘Is Salesperson?’ — When marked, this staff member will be available as an Event Salesperson. Their name will be available in the Event Salesperson dropdown list.
- Assign a Department by selecting a Title for the Staff member from the drop-down list. Each Staff member must have a title assignment in order to be added to an Event. When adding a new Staff member, you can only select one Job Title. To add a new title, select ‘<NEW TITLE>’ from the drop-down list. Refer to Step 1 above for more information on adding Staff titles.
Note: The listed wage for this title is the default wage that will be used for Event wage calculation. If appropriate, the wage may be modified at the Event level once the person is hired.
Note: Additional titles can be added to the staff member after saving.
- Click the ‘Save’ button when all data is entered.
Updating Assigned Titles to Staff member
- Select the ‘Staff > Full Search’ option from the Navigation Bar.
- To narrow the Staff displayed in the grid, change the elements in the search box to match your search and click the ‘Search’ button. Refer above to ‘Searching for Staff’ for more detailed information on searching.
- Click the name link to see more information about the Staff member.
- Click the ‘Assigned Titles’ tab then click the ‘Add Title’ button.
- Check whichever departments you would like to add to the staff member then click the ‘Add to Staff Member’ button.
- Removing departments assigned to the staff member can be from the ‘Departments assigned to Staff Member’ tab. Select which departments to remove and clicking the ‘Remove From Staff Member’ button.
- Once you are done click the ‘Back to Staff View Button’.
Updating Staff Member Information
- Select the ‘Staff > Full Search’ option from the Navigation Bar.
- To narrow the Staff displayed in the grid, change the elements in the search box to match your search and click the ‘Search’ button. Refer above to ‘Searching for Staff’ for more detailed information on searching.
- Click the ‘Edit’ link for the Staff member you wish to update. Optionally you can click the name link to see more information about the Staff member, then from the view page click the ‘Edit’ link.
- Update the appropriate data.
- Click the ‘Save’ button to save your data.
Staff Event History
- Select the ‘Staff > Full Search’ option from the Navigation Bar.
- Select the appropriate Staff member by clicking the name link.
- Once an employee has been selected, any events associated with that employee can be viewed by clicking the ‘Event History’ tab.
- The default number of Events viewed is for a timeframe of 3 months. To see more Events, simply change the timeframe in the ‘Display:’ selection list, then click ‘Load Event History’.
- To view that Event, click the appropriate ‘Invoice #’.
Staff Hiring Manager
The staff hiring manager allows you to view staff by Event for an entire day. Add, edit and delete staff from this module. See schedule conflicts to ensure that no staff member is hired for different Events at the same time.
Viewing Hired Staff
- Select the ‘Calendar > Staff Hiring Manager’ option from the Navigation Bar.
- Select a date from the ‘Date:’ drop-down box.
- Select the status of the event you are searching for by hovering over the link and checking the appropriate boxes.
- All Events and scheduled staff for that day will show in the grid.
- Click the ‘Show Conflicts’ checkbox to see any schedule conflicts. The conflicts will be highlighted in red.
Adding or Editing Staff
- Click the ‘Edit’ or ‘Add Staff Title’ link.
- Refer to the topic Updating Staff Data for more detailed information on updating staff.
- Click the ‘Save’ button or ‘Cancel’ to rollback any changes.
- Click the ‘Back to Event’ button when finished.
Deleting Staff
- Click the ‘Delete’ link.
- Confirm the deletion by clicking ‘OK’.