The Mass Contact and Lead Emailing features allows you to obtain a list of multiple contacts and leads that can be exported to an Excel or CSV file to use in another mass email application.
As of 2022, the ability to mass email directly from TPP is no longer available. We integrate with MailChimp via our integration packages or you may use the steps below to generate a file that can be used with many mass email/marketing applications.
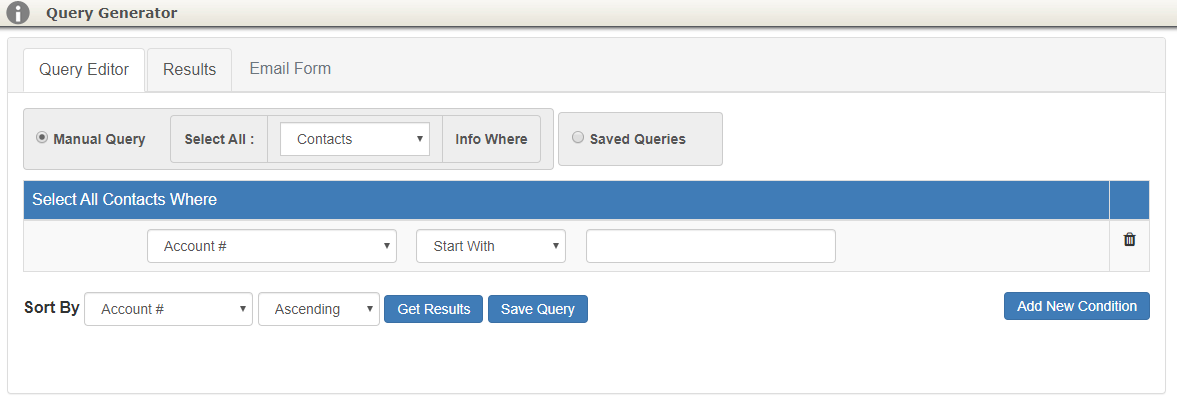
Query Editor
Navigate to Contact > Mass Email or Lead > Mass Email in the Red Navigation Bar.
On this tab you will build a query using conditions (or filters) to generate a list of specific contacts or leads.
Manual Query
Manual Query is how you would add conditions to create your list of Contacts.
Fields to choose:
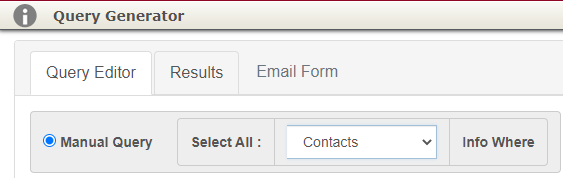
- Select All: This will automatically be set to Contacts or Leads, depending on how you got here from the menu.
- You may toggle this to any other option as needed.
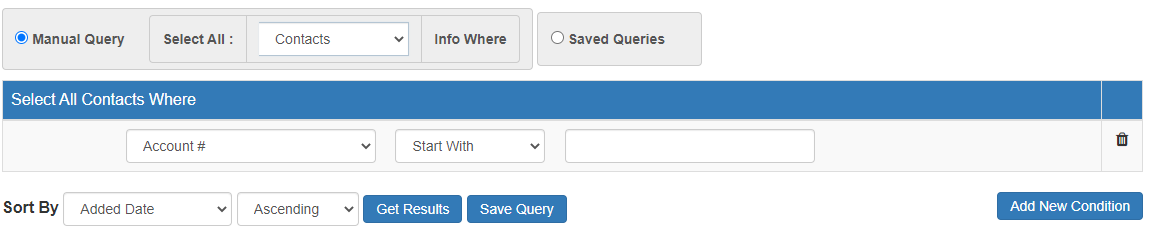
- Select All Contacts Where: This is where you will start entering the conditions for the list you want to create.
- First Drop-down: For this example we will choose Email Address (see below)
- Second Drop-down: Next we will choose Is Not Empty (see below)

This condition will pull a complete list of all contacts in your TPP account that have email addresses on file.
- To narrow these results further:
- Click Add New Condition to add another line to create another condition.
- Select another filter from the first drop-down
- For this example we are looking for Contacts with Total Party Planner in their Company Name field.
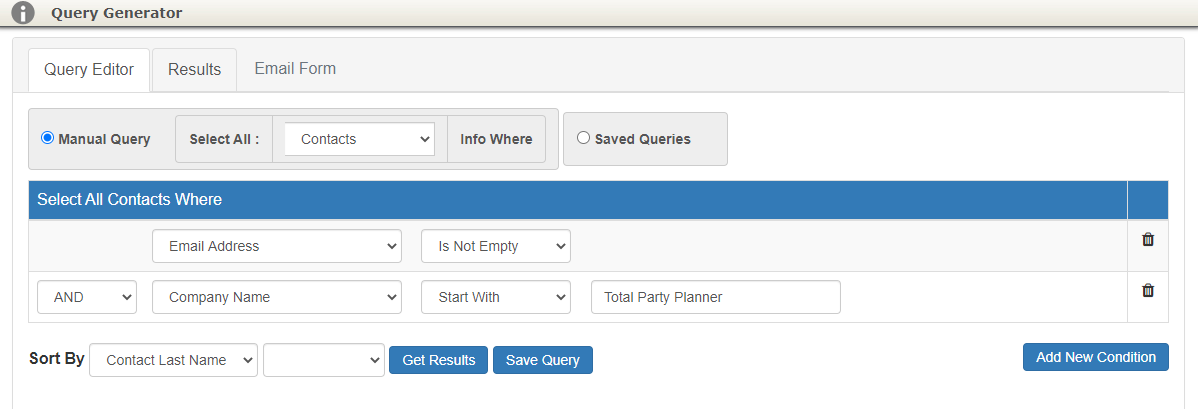
- After you have all of your conditions added, click the Sort By drop down to choose how you results will be sorted.
- Generally for a Contact query like this, you would choose Sort By > Contact Last Name, but you can sort whatever works best for your list
- Next click Get Results to load your query
Saved Query
Once you have a Query built with all the conditions that you need, you can easily save this to re-use in the future.
Creating a Saved Query
- Follow the steps above to build a Query that gets the results you desire
- Click the green Save Query button
![]()
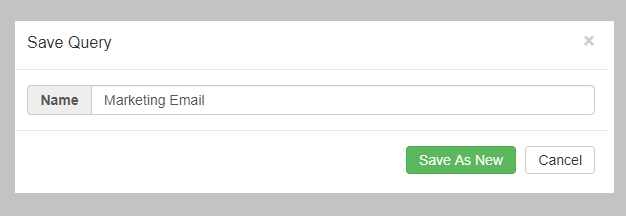
- Name the Query to be able to identify in the future and click Save As New
Using a Saved Query
The next time you go to send a Mass Email, the saved query will be there so you don’t have to build it again.
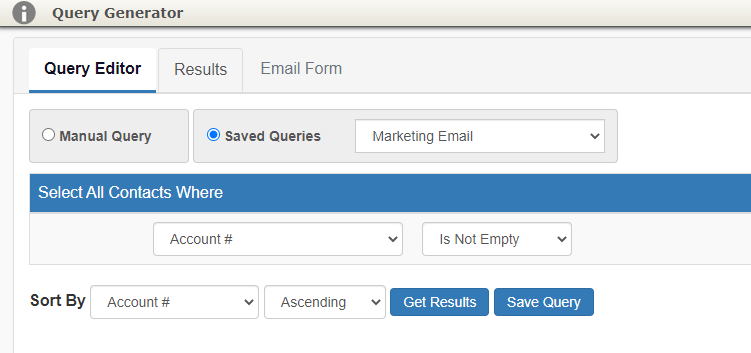
Simply choose it form the Saved Queries drop-down and the conditions will load.
You can save as many Queries as you like and re-use as often as needed.
Deleting a Saved Query
If you want to remove a Query from the list, follow these steps:
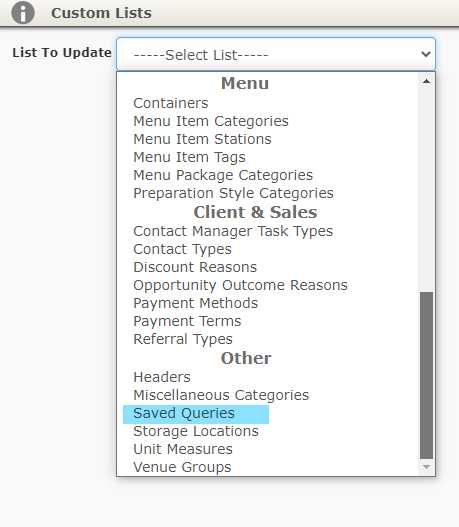
- Go to Administration > Custom Lists
- Choose Saved Queries from the List To Update drop-down
- Find the Query in the list that you want to delete.
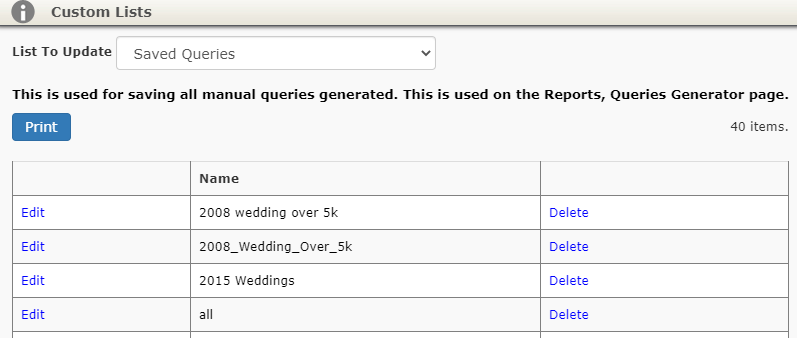
- Edit: Allows you to rename the query
- Delete: This will delete it from the Saved Queries list
Results
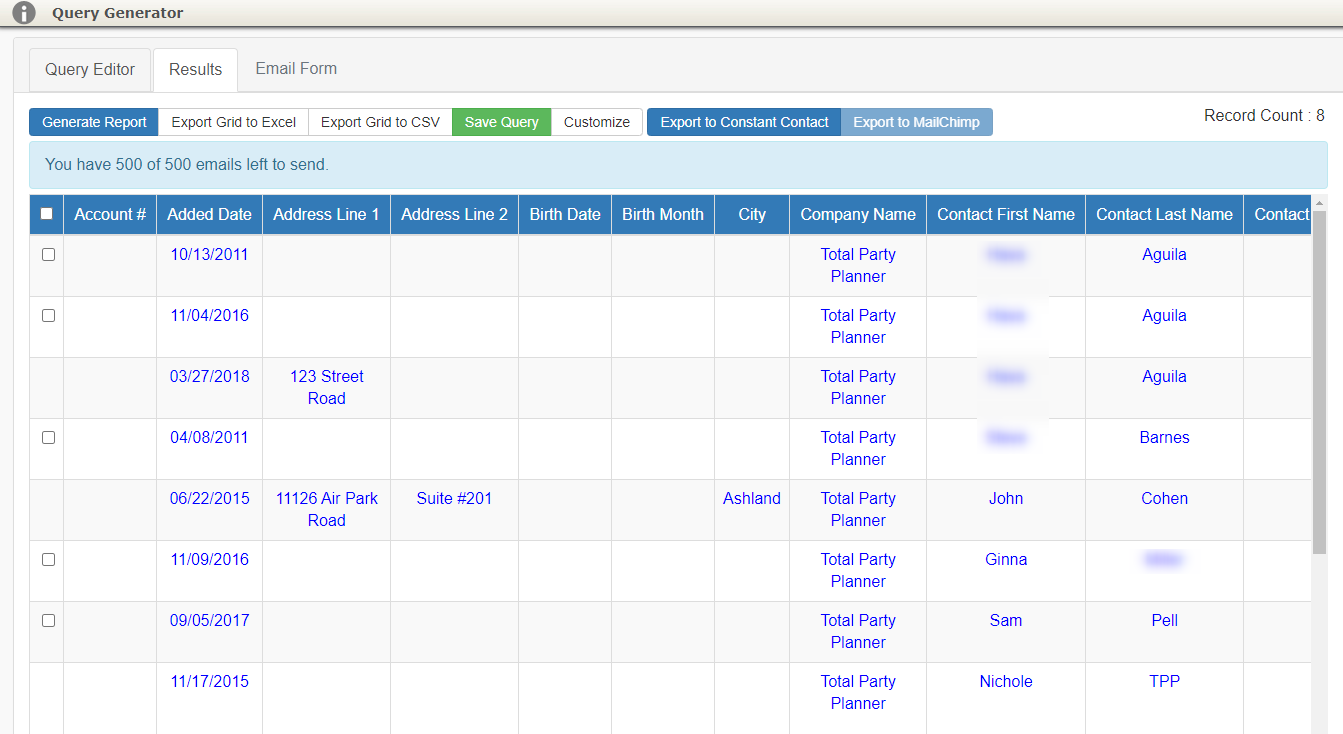
You will now have a list of clients that match you conditions that you selected.
You now have a few options:
![]()
- Generate Report: This will open the report in a new pop-up window (Much like Proposals and Invoices do) to allow you to email directly from TPP or save as a Word, Excel, CSV, or PDF document
- Export Grid to Excel: Export directly into an Excel file
- Export Grid to CSV: Export directly into a CSV file
- Save Query: See Saved Query section below
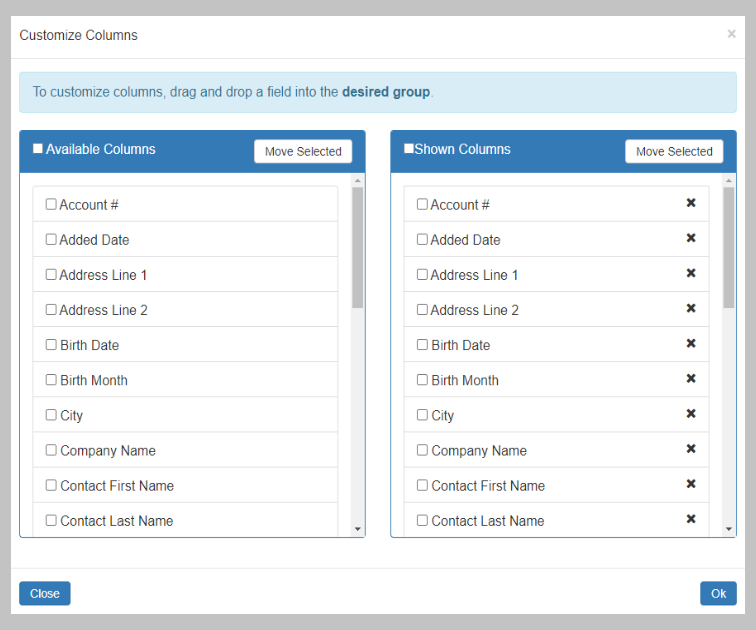
- Customize: This brings up the Customize Columns window that allows you to add/remove columns you want from the results view and re-sort them in the order of preference:
-
- Shown Columns are those that you already see in the results and Available Columns are ones you can add to the report view
- You can add or remove what columns are showing by following these steps:
- Check the box next to the column name that you want to move
- Click Move Selected to move the column from one box to the other
- Click Ok to see your newly organized report
Note: Drag and drop functionality is also available in the Customize Columns box to re-sort the column order in the Shown Columns box or to move columns between Shown and Available Columns.
Emailing Contacts
Effective August 1st 2022, The Mass Emailing capabilities are no longer available.
Check out our MailChimp Integration for an alternate way to do so.