Headers are used when you are creating an event and want a way to separate lines items as they are shown to the contact.
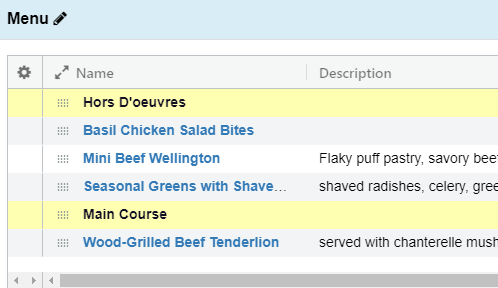
Here is how it looks in TPP (the yellow lines are the Headers):

Headers are added to the event menu by clicking the black word bubble icon here:

When you add a Header to an event, you can manually type in the name or have a saved list of commonly used headers to easily drop into an event.
To add, edit, or delete those saved headers, you would go to Administration > Custom Lists and choose Headers from the drop-down:

Adding a New Header
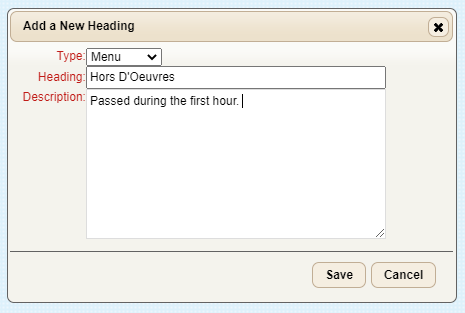
Once you are in the Headers area, click the Add New Header button.

Type
Choose what area of an event the Header will used for.
Available options are:
- Menu
- Beverage
- Rental
- Other
- Misc
Heading
The text of the Header as it will appear on contact facing reports.
Description
Optional description that can be used to further define the Header.
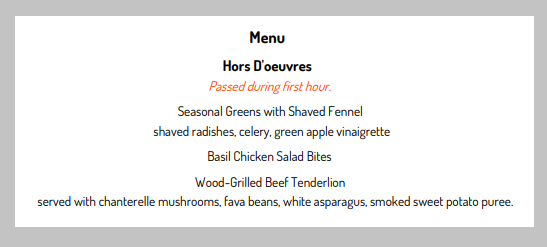
Proposal Example:

Note: Example shown using specific user Proposal Design Options. Your report colors/fonts may vary.
For more information about Proposal Design
Editing an Existing Header
Deleting a Header
Navigate to the Headers section in Custom Lists and click Delete next to the one you want to delete.
