Viewing/Editing a Contact
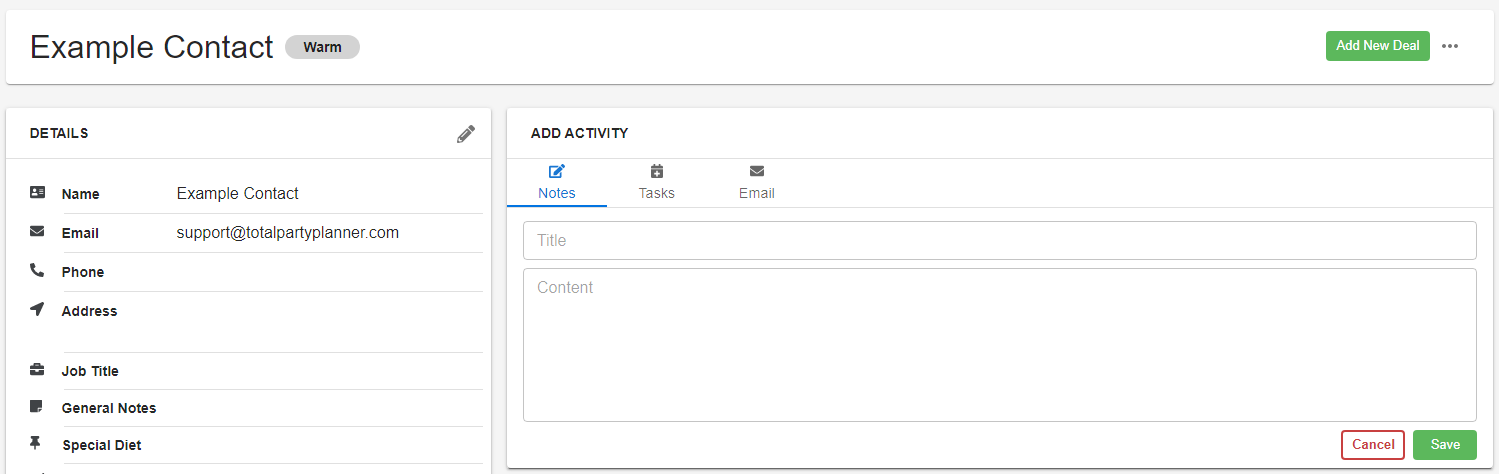
When you click the name of a Contact, you will open their Contact View:
Contact Header

One the top line you will see the Contact Name to the left. On the right you will see an Add New Deal button to create a new deal for the contact.

Under this you will see the Expected Close Date of the deal and the assigned Pipeline.
![]()
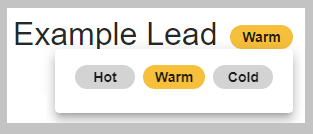
Next to the Contact Name on the first line you will see the assigned Label for the deal.
- You can change this label by clicking it to open the other options.
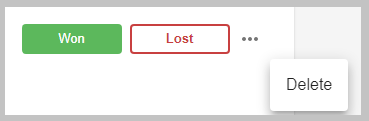
On the left you have buttons to mark the deal as Won or Lost.
There is also a meatballs menu that you can click that gives you the option to Delete the entire deal from TPPsales.
Finally, you will see what stage the deal is assigned to in your Pipeline.
- Clicking any of the Pipeline Stages will change the deal to that stage.

- If you see a number in the stage, that is informing you of how long the deal was in that stage or how long it has been in the current stage.
Details
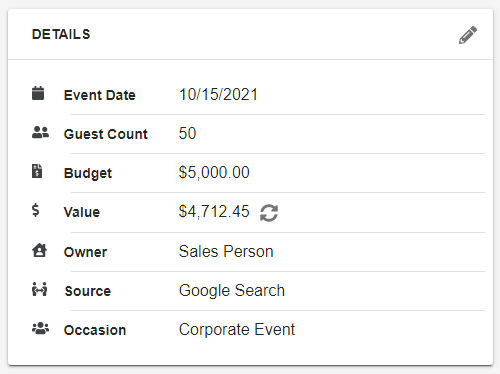
The Details box will show all of the information you entered when converting the deal.
Value Field
The only new field in this area is the Value field. Once you build the entire event in TPP, you can click the refresh icon here to see the actual Event Total in TPPsales.
- Note: Any updates to the event in TPP will not automatically update in TPPsales. A good practice would be to click the refresh option each time you view a deal to ensure you have the latest Event Total information from TPP.
Contact, Organization/Company, Venue
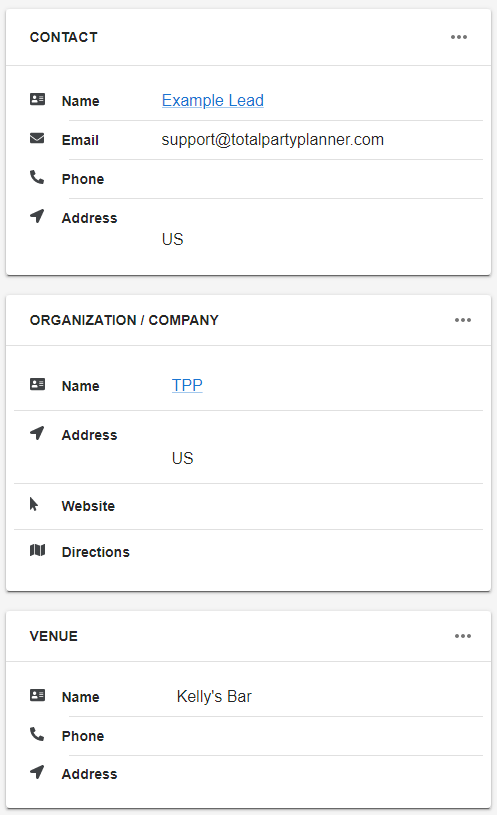
The information in these fields will pull from the assigned entries on the event.
- Click the meatballs menu to change any of them to different option or remove (Unlink) the Organization/Company or Venue from the deal
- This will also remove them from the event in TPP
Events
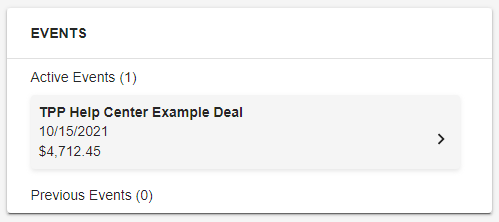
This box will show you all the events for the current contact that you have in your TPP account.
- Click the event in the list to open it in TPP
Add Activity
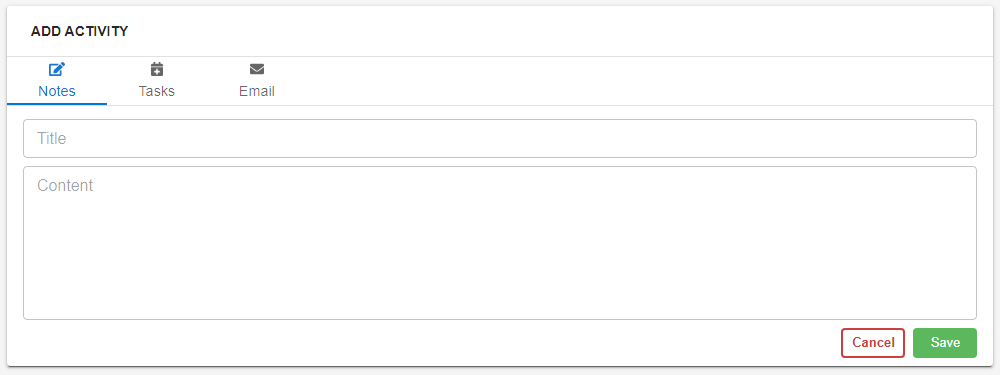
This box is where you can track you sales activity for the deal.
Notes
To add a note, enter a subject line and any information you want to record.
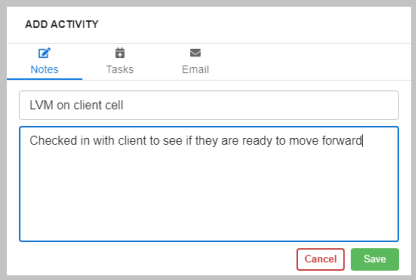
Once you are finished, click Save.
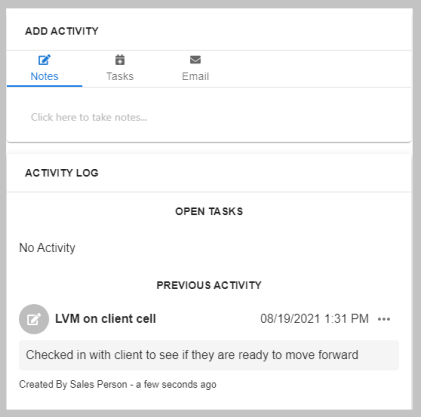
Once the note is saved, it will be recorded in the Activity Log under Previous Activity.