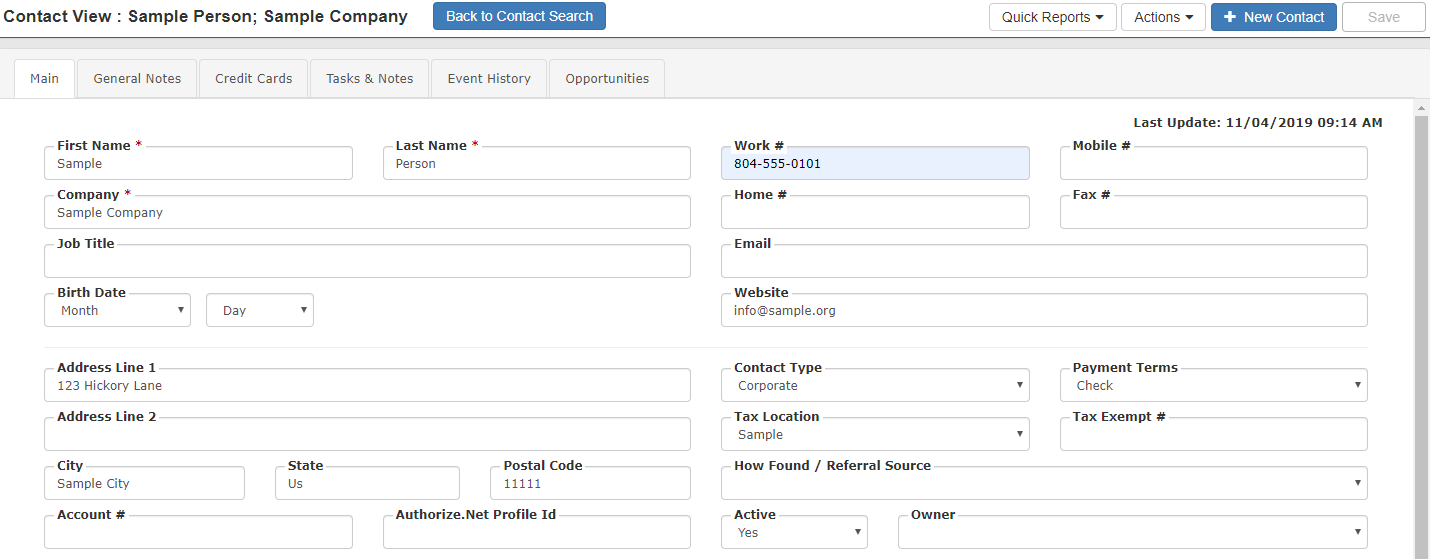
For each specific Event or Contact, schedule tasks and record special notes with the Contact Manager.
Unlike the Event notes, this module will help you keep track of a particular contact and your dealings with them. Examples are phone calls, meetings, prospects without events, etc.
The Contact Task & Notes can be accessed by any of the following ways:

- From the Contact: Select the contact you wish to add tasks or edit notes for, then select the ‘Contact Tasks & Notes’ tab.
- From the Event: While viewing the event, click the ‘View Contact’ button, then navigate to the ‘Contact Tasks & Notes’ tab.
Adding or Editing a Task
- Click the ‘Add Task’ button to make a new note, or click the ‘Edit’ link for an existing task to edit it.
- (Required) Select an ‘Owner:’ from the drop-down list. The owner is who the note belongs to.
- Select a ‘Task Action’. This is the category of the action you need to complete; for example, an outbound call, a meeting, etc.
- Select an event (when under the contact) or contact (when under the event) to associate to the note with the ‘Assoc. to Event:’ or the ‘Assoc. to Contact:’ selection.
- (Required) Enter a ‘Subject’.
- Enter the task description. This is the information or details of the task.
- Select the date the task must be completed on with the ‘Due Date:’ selection box.
- Select a priority.
- Select the ‘Completed?’ checkbox if the task is closed.
- Set a reminder by selecting the ‘Set Reminder?’ checkbox, then filling out the form that appears.
- ‘Date & Time’ (required): Date and time the email will be sent to the email you specify.
- ‘Email Reminder To’: The email recipient(s). You can select them from the drop-down box or or by entering the emails (separated by commas) in the textbox.
- Click the ‘Save’ button.
Adding or Editing a Note
- Click the ‘Add Note’ button to make a new note, or click the ‘Edit’ link for an existing note to edit it.
- (Required) Select an ‘Owner:’ from the drop-down list. The owner is who the note belongs to.
- (Required) Enter a ‘Note Title’.
- Enter the information you want the note to contain in the ‘Note Content’ textbox.
- Select an event (when under the contact) or contact (when under the event) to associate to the note with the ‘Assoc. to Event:’ or the ‘Assoc. to Contact:’ selection.
- Email the note to yourself or others by selecting an email from the ‘Email Note To:’ selection box or by entering the emails (separated by commas) in the textbox.
- Click the ‘Save’ button.
Viewing the Notes
The Contact Tasks & Notes tab lets you view all the tasks and notes for that contact, regardless of the event associated with them. The tasks can be hidden with the “Hide Tasks” link, and the notes can be hidden with the “Hide Notes” link. The tasks can be filtered by all, my open (open tasks you own only), open (all open tasks), overdue (incomplete and past their due date), today’s, and week’s tasks. The default is all.
The Contact Manager View lets you view all the tasks and notes for that event, regardless of the contact associated with it. The tasks can be hidden with the “Hide Tasks” link, and the notes can be hidden with the “Hide Notes” link. The tasks can be filtered by all, my open (open tasks you own only), open (all open tasks), overdue (incomplete and past their due date), today’s, and week’s tasks. The default is open.
Deleting a Task or Note
- Select a note to remove by clicking the ‘Delete’ link.
- Confirm the deletion by clicking ‘OK’.
Printing the Notes
The notes are printed through the main report module. Refer to the topic Report Selection for more information on printing reports.
Task Manager
The Task Manager allows you to view all tasks and notes in one place. Access it from ‘Tasks & Notes’ on the Navigation Bar.

- The ‘Tasks’ tab will be chosen by default. To add a new contact or event task, click the corresponding button.
- Select the contact or event you wish the note or task associated with.
Viewing the Task Manager: Hover over ‘View’ then select the View you wish to see:
- All Tasks — every task
- My Open Tasks — open tasks you own only
- Open Tasks — all open tasks
- Closed Tasks –- all closed tasks
- Overdue Tasks — incomplete and past their due date
- Today’s Tasks — tasks due today
- This Week’s Tasks — tasks due the current week
- Custom — filtered by search (user-defined)
Helpful Hint: Click the column titles to sort by that category. Click again to toggle between Ascending and Descending order.
Custom View: Click the ‘Adjust View Parameters’ link. Enter the search parameters into the pop-up window and hit save.
