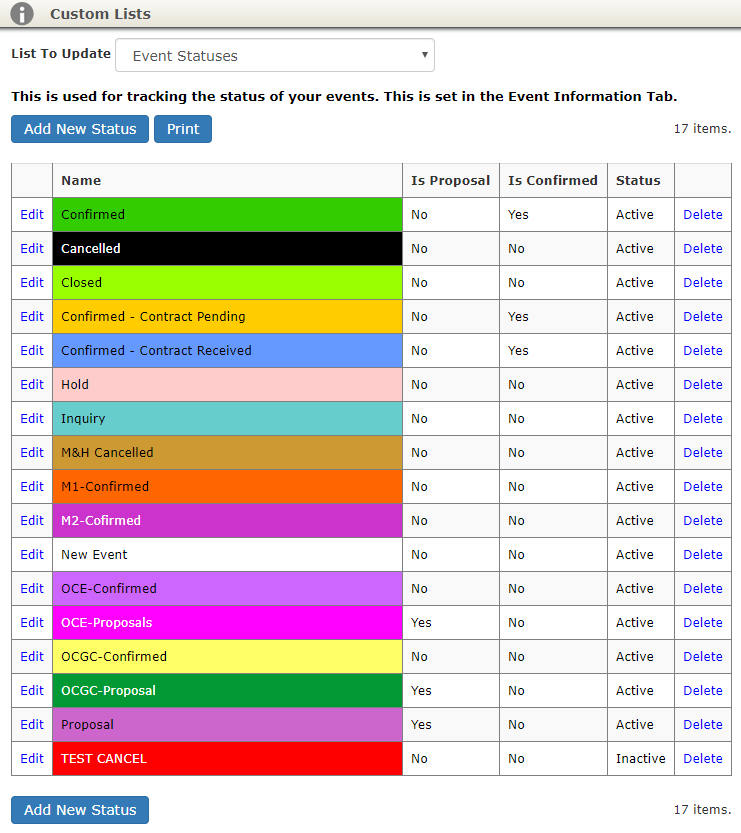
Custom statuses are user-defined statuses for events.
Note: The system default statuses are Cancelled, Closed, Confirmed, Proposal, Inquiry, and Hold. The default statuses can be edited but not deleted.
To see your event statuses, navigate to Administration > Custom Lists and select Event Statuses from the List to Update.

Adding A New Status

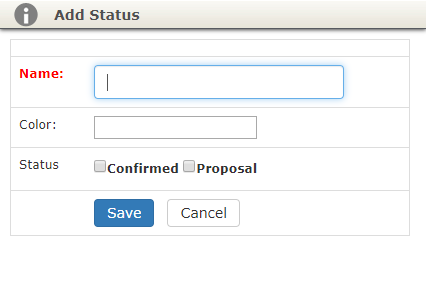
- Click the Add New Status button.
- Name: Enter the name of the new status.
- Color: Click this box to select from a number of preset colors available. You may also enter a hex color code here to use a color not available in the selectable list.
- Note: Colors are used on the calendar and on reports.
- We recommend using a unique color for each status to make them easily identified on your calendar.
- Status: Designate if the status should be considered a Confirmed or Proposal status in TPP.(Optional)
- If an event is marked as a Proposal status, the system will automatically prompt the user to change the event to a Confirmed status upon taking a payment.
- If an event is associated to a Confirmed status, the system will automatically prompt the user to close the event upon taking final payment.
- These are also used for designating events that appear in our online credit card option based on the status of the event and if that status is designated as a Confirmed or Proposal status.
- Click Save to add to your TPP account.
Editing a Status

- Navigate to Administration > Custom Lists > Update Event Status.
- Click the Edit link next to the status.
- After changes have been made, click Save.
Deleting a Status

- Navigate to ‘Administration > Custom Lists > Update Event Status’.
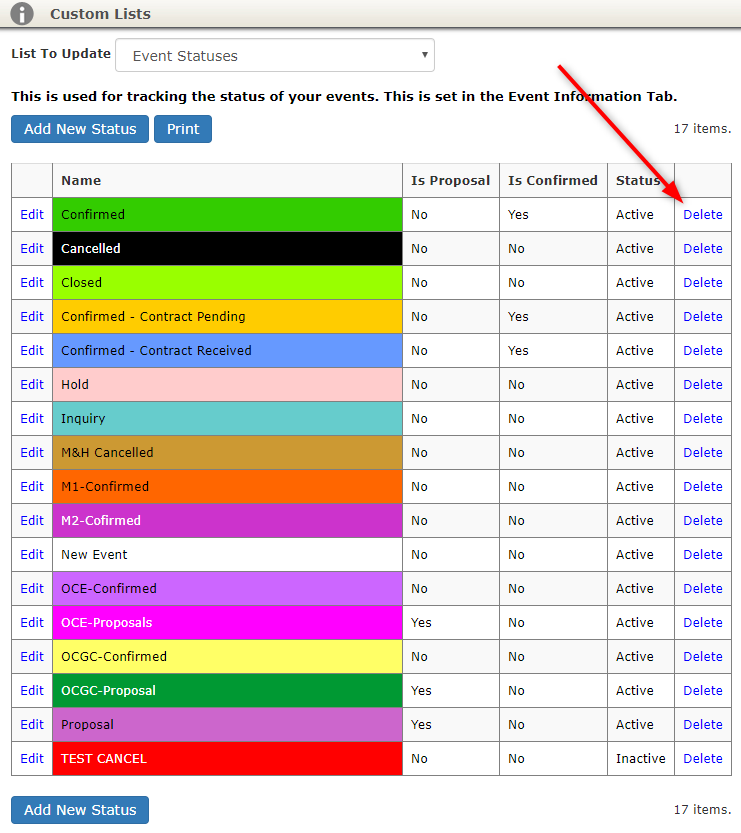
- Click the ‘Delete’ link next to the status.
- Click ‘OK’ on the alert to delete.

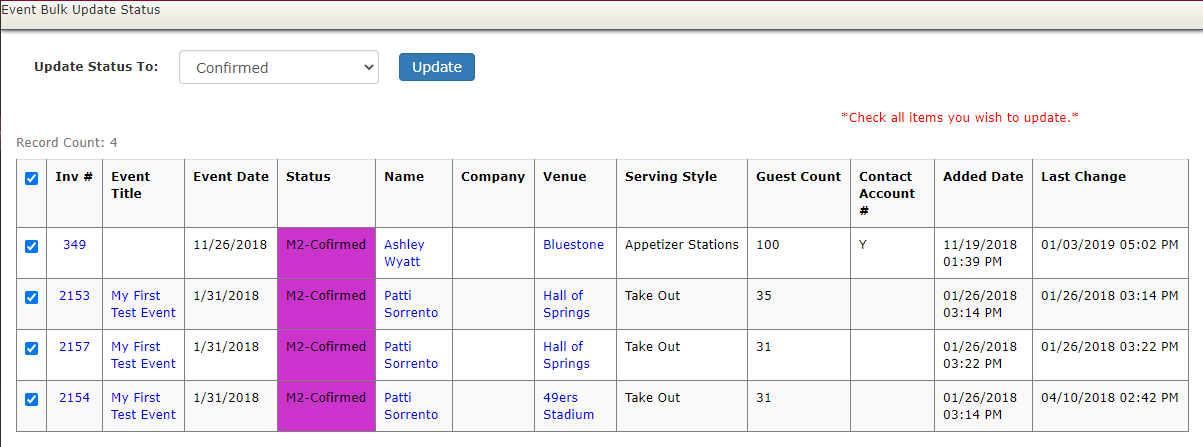
Note: If a status is assigned to any event(s), you will be prompted to Bulk Update the event(s) to a new status before deletion.

Once you have updated all the events, then you will be able to delete the desired status.
